SoCal Overland
  • Home
  • Upcoming Events
  • Store
  • About
  • Contact

New Goodyear Duratrac Tires for the Jeep

6/26/2015

0 Comments


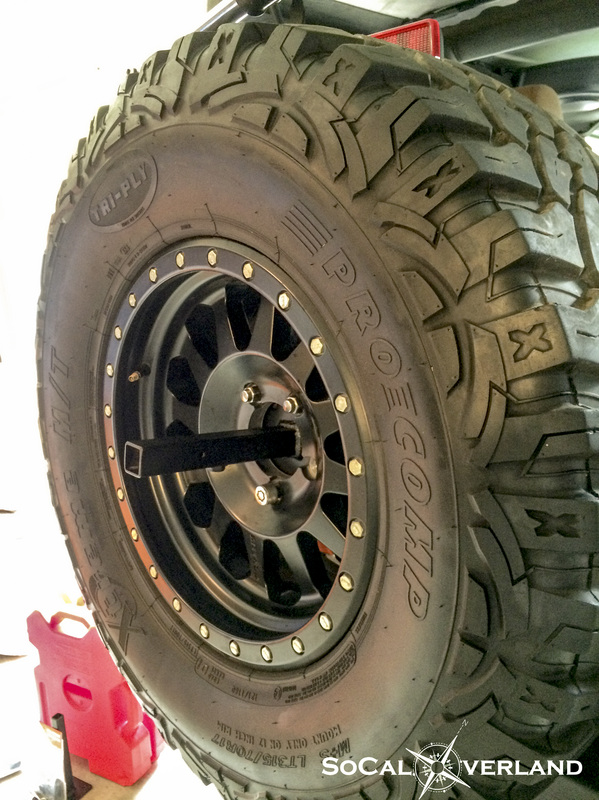
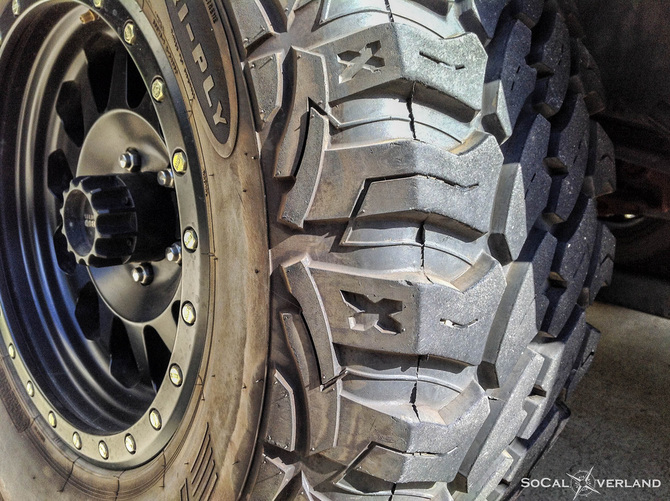
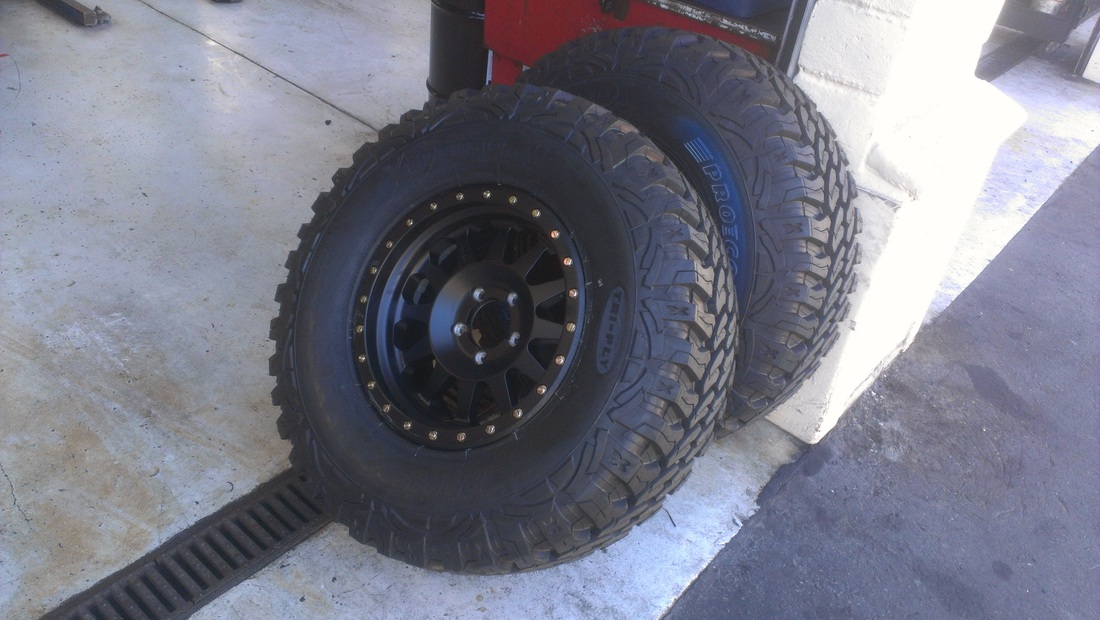
Well, after 60,000 miles on the ProComp tires it was time for some new shoes. I really like the aggressive tread pattern of the Pro Comp M/T and the tires lasted a long time, in fact there was still usable tread remaining, but when it's time it's time.

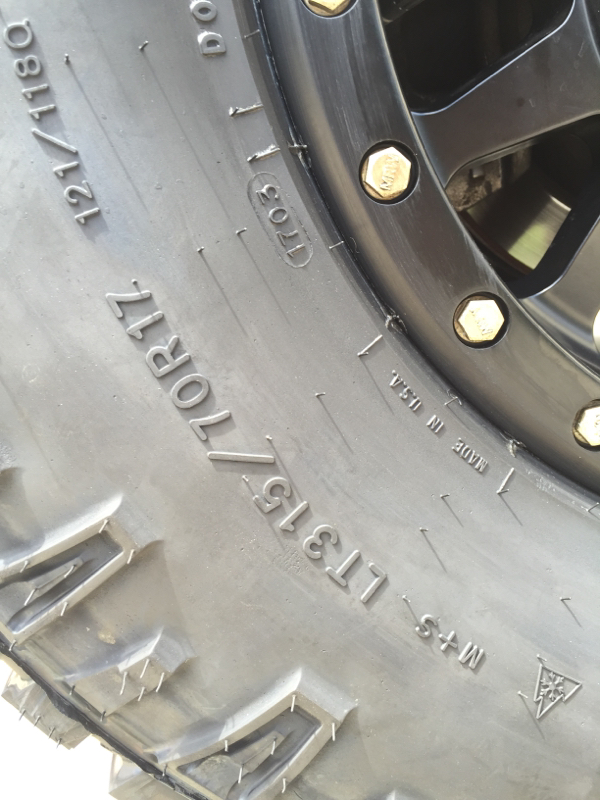
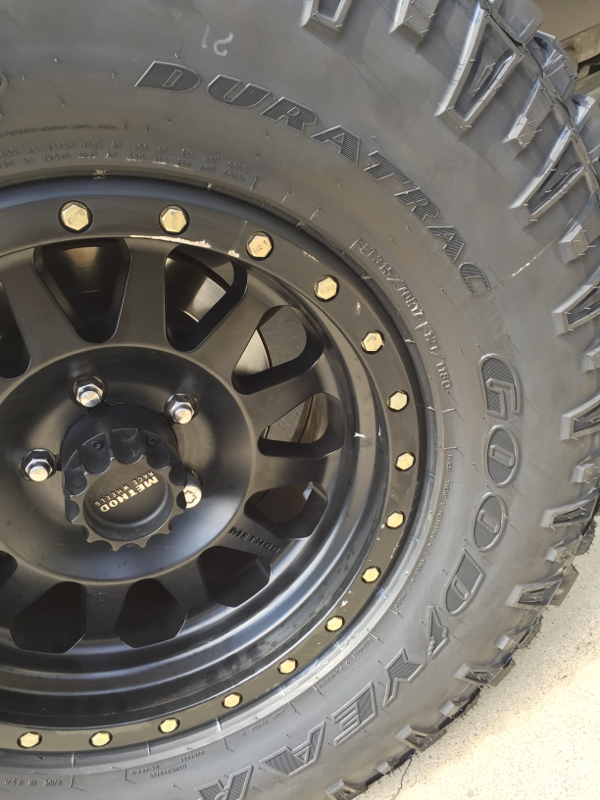
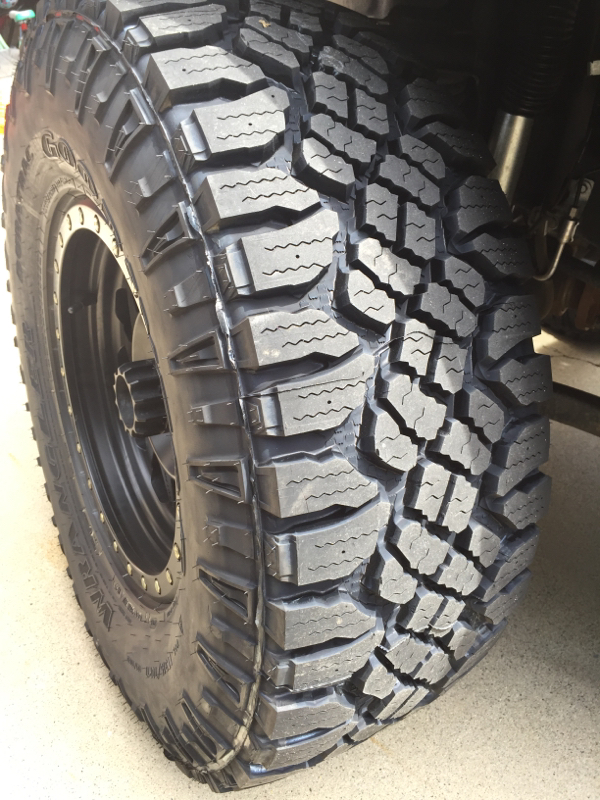
So, this time I took the recommendation of a friend (El Chupacabra) who is running the Goodyear Duratrac tires on his JK Unlimited Sahara. When I drove the Sahara with the Duratracs, the ride was noticeably softer and quieter.

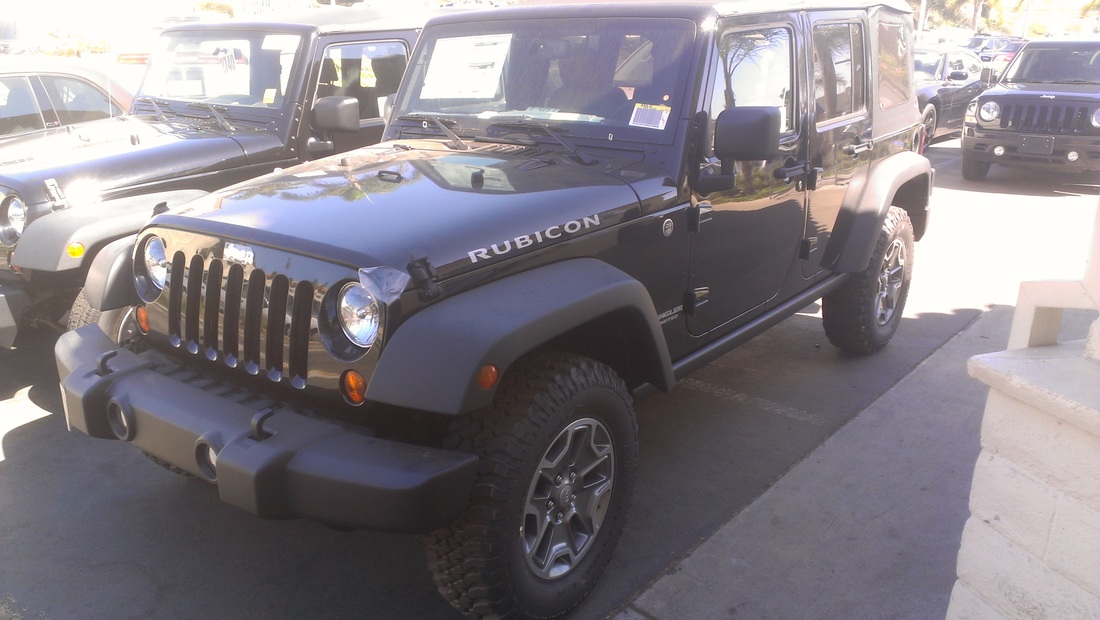
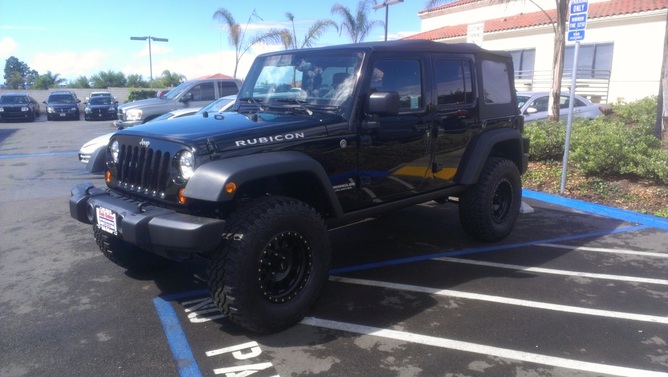
So, making the decision to install the Duratrac tires on my JK Unlimited Rubicon seemed like a good move.

As it turns out, the Goodyear Duratrac tires provided an immediately noticeable difference with a softer ride and also a quieter ride. While the softer rubber compound may not last 60k miles, the ride is worth it. And the tread pattern is still aggressive enough to provide enough bite for rock crawling and overlanding.

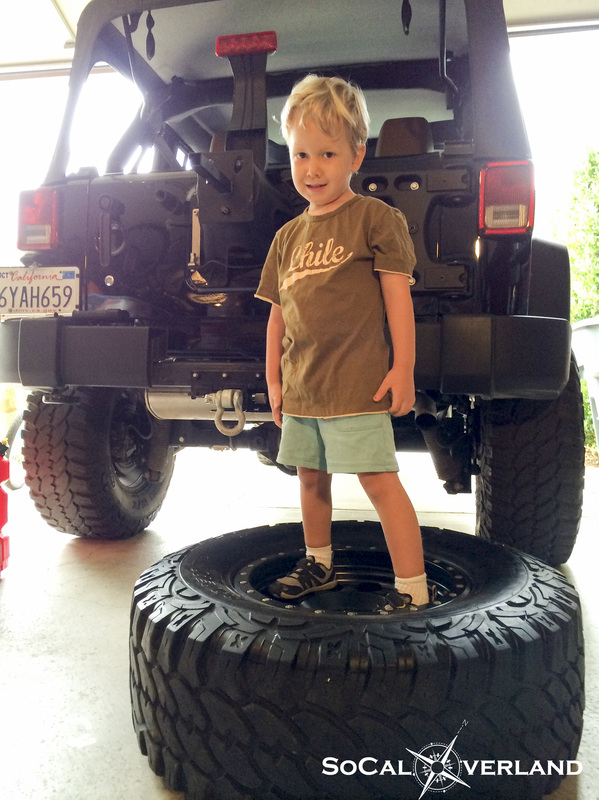
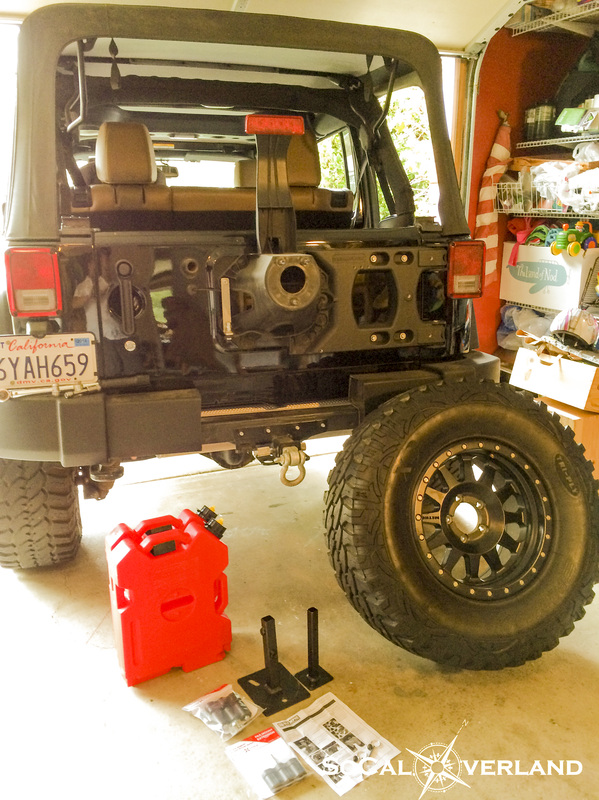
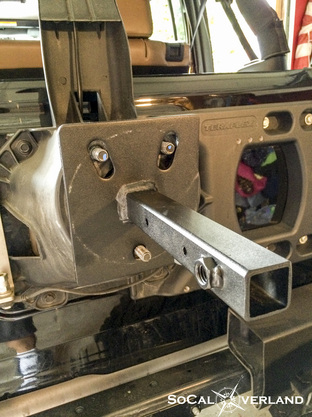
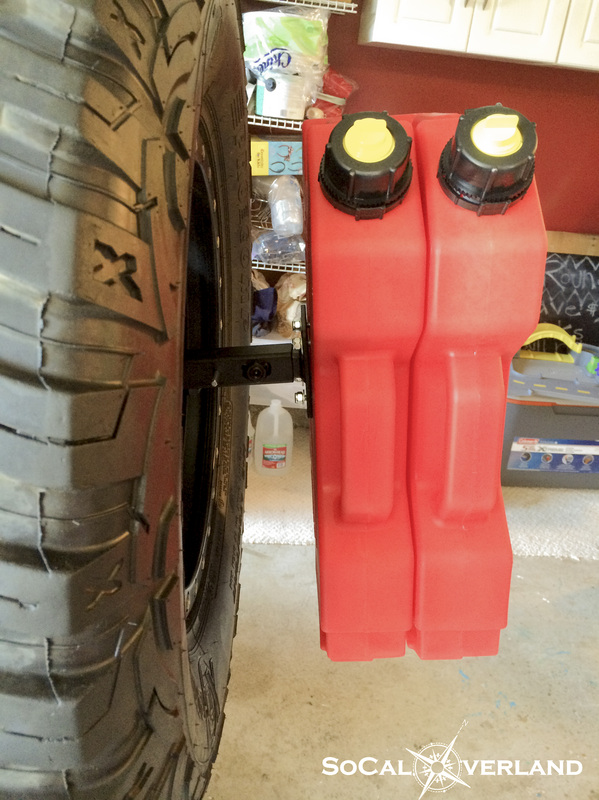
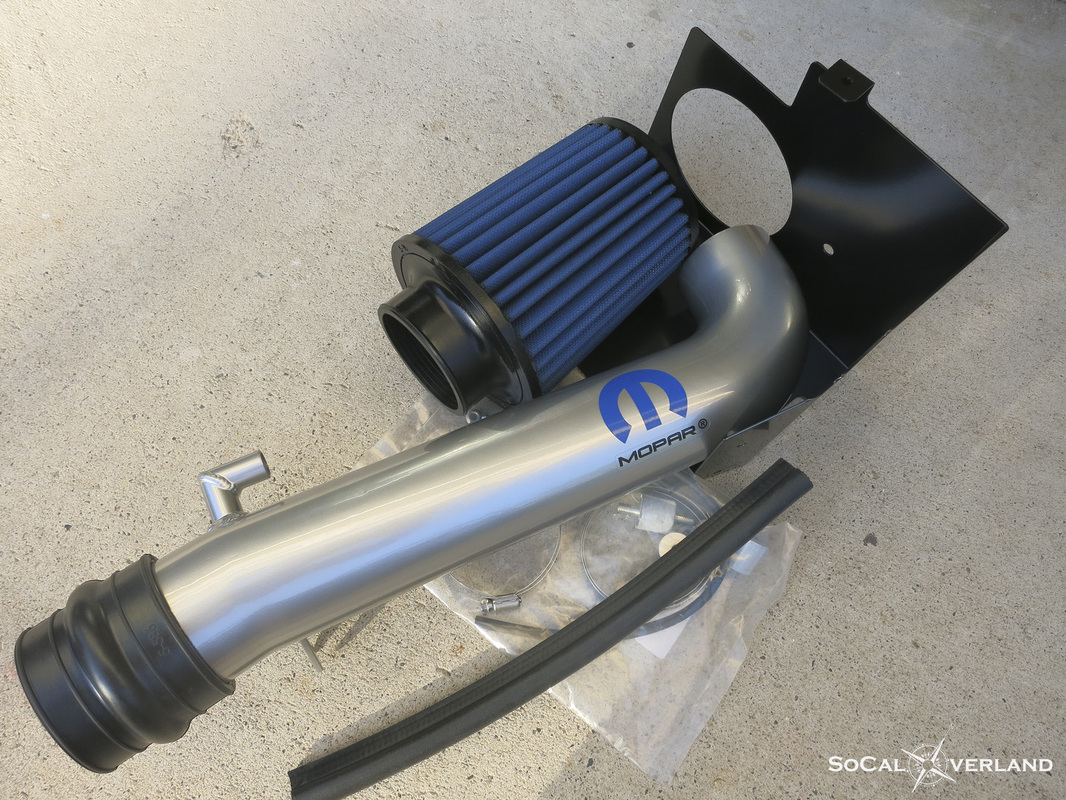
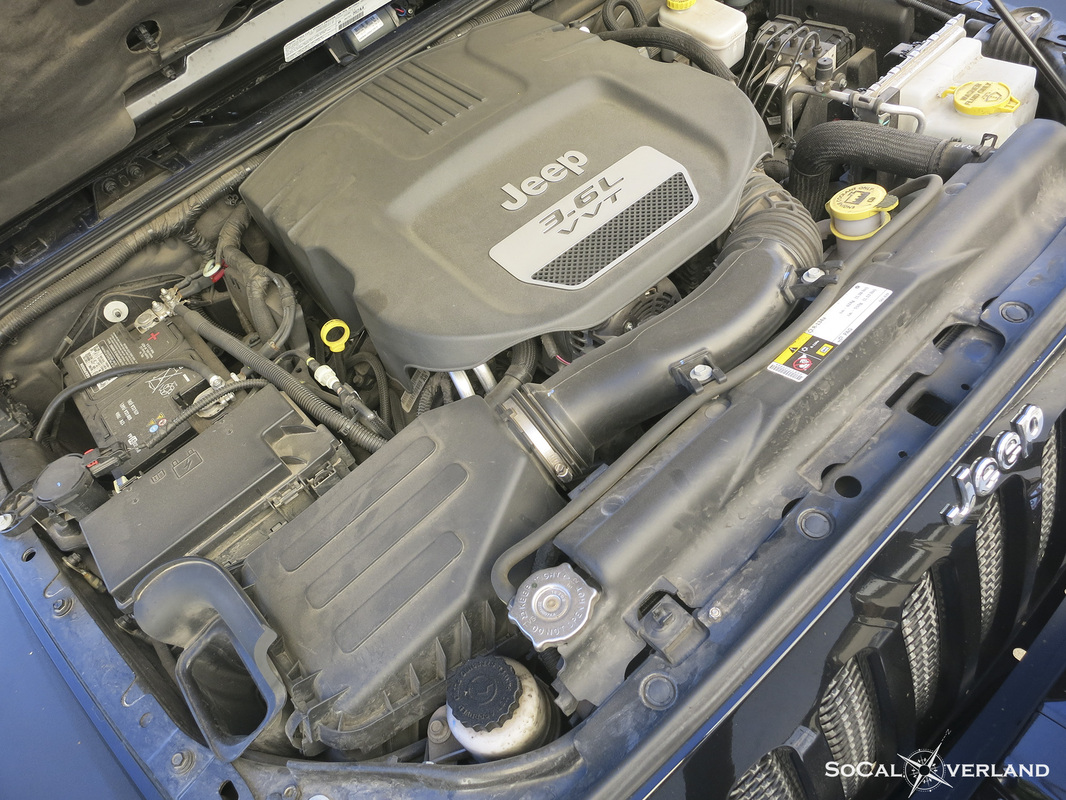
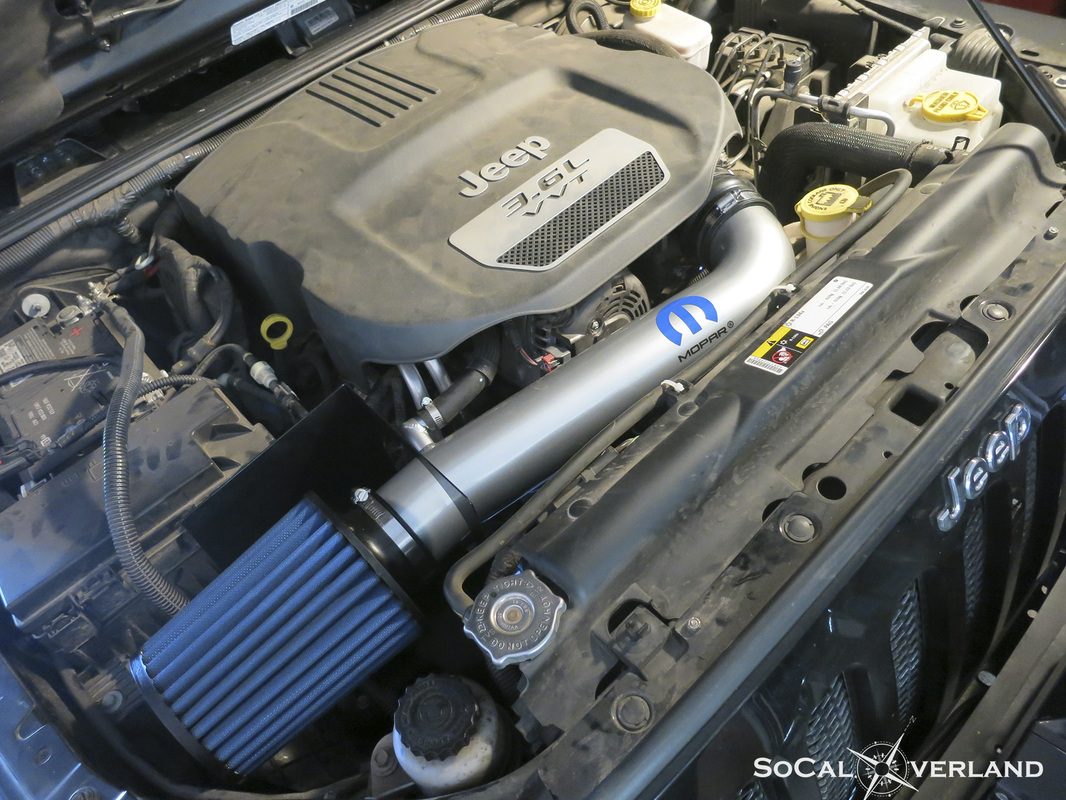
Here are some pics...

Picture
Picture
Picture
Picture
0 Comments

Roto Pax Gas Can Installation on Jeep Spare Tire Carrier

10/14/2014

1 Comment

 
We recently installed the Roto Pax Gas Can Carrier onto our Jeep.  Here are a few step-by-step pictures documenting the installation.

Step 1: Recruit your best helper.
Picture
After you have recruiter your helper, remove your spare tire and as with all Jeep projects, toss out the instructions.

Here are the components we ordered through Quadratec:
(Two) Two gallon Roto Pax Gas Cans
(One) Roto Pax Mount Bracket (made by Olympic)
(One) Roto Pax Mount Kit
(One) Roto Pax Extension

Tools:
Torque wrench for removing and re-installing spare tire to ft. lb. specs
Socket Set
Allen Key
Lock Tite

Installation Time:
Less than one hour.  More than one hour when two kids are helping.

Here are the components with rear tire removed and carrier ready for Roto Pax Installation.
Picture
Picture
With spare tire removed, mount Olympic Mount onto spare tire carrier.

Install spare tire onto carrier without bumping the Mount and knocking it off (we got it first try).

I also used my helper to hand over each lug nut, one at a time, while I held the spare tire in place with the girth of my belly.  This allowed for quick and easy installation of the lug nuts.

Carrying an extra four gallons of gas (approximately 32 pounds, plus weight of cans) will add to the overall weight of the tire carrier, however, my Teraflex hinge mount has been superb and is ready for this extra weight.

Here is my helper with lug nuts ready to go.  And the spare tire installed with Olympic Roto Pax Mount.
Picture
Picture
Next, install the male end of the Mount Bracket, locking into place with two pins and also two allen bolts.

Mount the round mounting plate (included with Olympic Mount Bracket) to the Roto Pax Mount (included with your Lox Mount) and secure with the two bolts.  And that's how you use the word "mount" five times in one sentence.

I also put a drop of Lock Tite on those two bolts to help ensure they remain securely in place for a long time.

Also, if you are looking at my tire valve stems and notice that I never have valve caps, that's because my kids are always taking the caps off.  And then they disappear in the garage.  The kids will tell you that they have never touched the valve caps, but I know they are taking them when I'm not watching.
Picture
Picture
In this next step, use the included hardware (from the Lox Mount package) to attach the round mounting plate to the Olympic Bracket.
Picture
Picture
If you are planning to carry two (yes two) two gallon Roto Pax gas cans, you will now install the Pax Mount Extension piece.  Install by hand tightening and then place your first Roto Pax gas can onto the mount and turn the T-Handle into the vertical position so that it holds the first gas can securely in place.  The extension mount is also seen here in the horizontal position and will be used to carry your second gas can.
Picture
Picture
Install your second gas can and using the remaining Lox T-Handle and Lower Wing combination from the Lox Mount package, secure this piece into place by hand tightening.
Picture
Turning the T-handle into the vertical position secures the gas cans into place.  If you have the Lox Mount with lock (so no one can steal your gas cans), install the lock now.

The profile view shows that there is plenty of space between the spare tire and your Roto Pax gas cans.  Either I have really skinny tires or you could run much wider tires, hopefully it's the latter.
Picture
Picture
Overall, the Olympic Mount and Roto Pax components appear well made (Made in the USA) and give a solid feel with the gas cans mounted.  With some of our longer trips, the extra fuel will be nice to have along.

And while it probably took me longer to write all of this than it did to complete the installation, I hope you enjoyed it and found it interesting.  I'm sure the four extra gallons will ensure that I won't have to stop for gas the next time I'm going out for groceries.
1 Comment

Jeep Wrangler Mopar Cold Air Intake

6/7/2014

0 Comments

 
The Mopar Cold Air Intake system for the Jeep Wrangler is an easy engine upgrade.  Mopar claims engine performance upgrades, while I claim only a more pleasant audible growl from the motor at higher RPMs.

The kit includes the intake tube, filter, and mounting hardware.  Installation takes one hour and requires basic tools to complete the process.
Picture
In stock form, the Wrangler air box is designed to provide maximum protection in deep water crossings, short of going to a snorkel system of course.  If you regularly cross deep water or are planning to forge a river soon, you may want to maintain the stock system to prevent a case of "hydro lock" (similar to drinking too much beer on Friday night and not being able to remove yourself from the couch until relieving yourself of said beer).

On the other hand, it could be argued that the small air intake of the stock system limits the motor's ability to breath freely, which could limit performance, perhaps...so we will assess the performance element of this upgrade later in this review.
Picture

Upside Down in the Dark Installation

The installation process took one hour to complete.  Overall, the installation process is easy, however, the mounting of the black metal air box frame required standing on my Warn front bumper in order to get a long reach into the engine bay.  Standing on the bumper, the installation of two washers and accompanying nuts needed to be mounted onto bolts coming through the bottom of the black air box mounting frame and then torqued with a ratchet.  If you are good at doing things upside down in the dark, then this will be easy.  I was able to get both washers and nuts installed the first try without dropping anything.

The end result is this pretty silver pipe and exposed air filter in your engine bay.  Your friends will all be amazed.
Picture
After installing the Cold Air Intake system, I drove the Jeep 285 miles to Pismo Beach.  Overall, fuel economy showed no difference, averaging in the low 17 MPG range.  Though, if it's fuel economy you desire, you may want to consider a Prius. 

In regards to power, the Mopar Cold Air Intake website states "they [Cold Air Intake] provide noticeable horsepower and torque gains", which I have to disagree with.  Even if this system provides an additional 5 horsepower, increasing stock engine power from 285 to 290 horsepower, that is a 1.75% increase, which is insignificant.

If you are looking an easy engine upgrade that will provide an audible performance improvement at 4,000 RPMs and you have extra cash to burn, this is the product for you.

If you are concerned about hydro lock, then maybe this is not for you.  So, I will keep my original equipment air box on the garage shelf in case of an anticipated flood in Southern California.
0 Comments

Pro Comp Tires

5/4/2014

0 Comments

 
I am often asked what tires I am running on my Jeep Wrangler.  So, let's find out what tires those are and how they are doing after so many miles of on pavement and (my favorite...) off-road driving.

These are the same set of tires I had installed when I bought and built up my Jeep with the American Expedition Vehicles Dual Sport 2.5 inch XT Suspension Lift.
Picture
This Pro Comp Tire Model is the Xtreme M/T (Mud Terrain) Tri Ply
Specs are LT315 / 70 R17
This gives you a 35" tire on the 17" Method Race Wheels rim.

These tires are supposed to go about 40,000 miles and because they are wearing so well, will probably continue to provide good performance beyond that point.  I am rotating these tires every 6,000 miles and that includes doing a five tire rotation (putting the spare into the mix).  As all tire shops will say, they recommend tire rotations and I support that as well, including the fifth tire.
Picture
I am also asked about tire noise.  If you are adding a more extreme tire to your rig for more aggressive off-roading, then tire noise should not be one of your (main) concerns.  And if you don't like the loudness of your tires, you can turn up your radio a little louder.  These tires do put off more noise than your neighbor's Camry (I'll admit), but overall, are fairly reasonable on the "loud tire" scale.  I am sure there are quieter tires, but there are also noisier tires.
Picture
Afterall, the point of a more aggressive tire is its performance off road.  I have driven these tires in California mud and sand, Moab slick rock, rain, snow, and ice.  And the Pro Comp continues to perform.  When the time comes, I will definitely consider these Pro Comps as my future replacement tire.
0 Comments

Jeep Wrangler Unlimited Rubicon

10/11/2012

2 Comments

 
We custom ordered our 2013 Rubicon from Bob Baker Jeep in Carlsbad.  Specifications included it being an Unlimited Rubicon in black with the saddle (tan) leather interior.  We also wanted the manual transmission as well as only a soft top.

After seven weeks of continuously checking Chrysler's website as the Jeep progressed from, order placed, to parts collected, assembly, paint, road test, and ship, it finally arrived from Ohio to the train depot in Southern California, where it seemed to sit for a few more days before making it onto a truck and finally to the dealer.

During the seven weeks of waiting, I ordered through Bob Baker the 2.5 inch suspension lift by American Expedition Vehicles as well as the AEV geometry correction brackets.  This lift, while a little more expensive than other lifts, had excellent reviews and I have to agree that the Jeep, after being lifted with this kit, rides just as comfortably as with the stock set up.  Here it is brand new, just off of the delivery truck.
Picture
Picture
Since Bob Baker Jeep is certified by AEV (American Expedition Vehicles), I went ahead and had them install the AEV 2.5 inch XT lift as soon as the Jeep arrived at their dealership.  The AEV lift kit replaces your stock Bilstein shocks with taller AEV branded Bilstein shocks in all four corners.  New taller coil springs are also installed.
Picture
And the package would not be complete without the taller 35 inch tires.  We also ordered through Bob Baker Jeep the Method Race Wheels and Pro Comp Xtreme Mud Terrain tires.
Picture
The build was completed in a few days at the dealer and we were anxious to finally meet the newest addition to our family.
Picture
2 Comments

    Share your Overland Story

    Are you an overland travel adventurer?

    Then share your adventure with the world on SoCalOverland.com

    From trips to tricks to gear and vehicle upgrades or just a favorite camping recipe.

    Submit your story and pictures via email to me at Mike@Socaloverland.com and have your adventure posted right here!

    Now Available! SoCal Overland Shirts

    Picture

    SoCal Overland Hats are Here

    Picture

    Categories

    All
    Anza Borrego
    Big Bear
    Camp Gear
    Camp Gear
    Camping
    Daily Inspiration
    Death Valley
    Hiking
    Jeep And Accessories
    Jeep Repairs
    KTM 350 EXC-F
    Land Cruiser
    Off Roading
    Overlanding
    Safety
    Tent Accessories
    Tent Accessories

    Archives

    June 2016
    March 2016
    July 2015
    June 2015
    January 2015
    December 2014
    November 2014
    October 2014
    September 2014
    August 2014
    July 2014
    June 2014
    May 2014
    April 2014
    February 2014
    January 2014
    December 2013
    May 2013
    November 2012
    October 2012

    RSS Feed