SoCal Overland
  • Home
  • Upcoming Events
  • Store
  • About
  • Contact

Day 13 - Telluride to Durango

7/9/2015

0 Comments

 
Picture

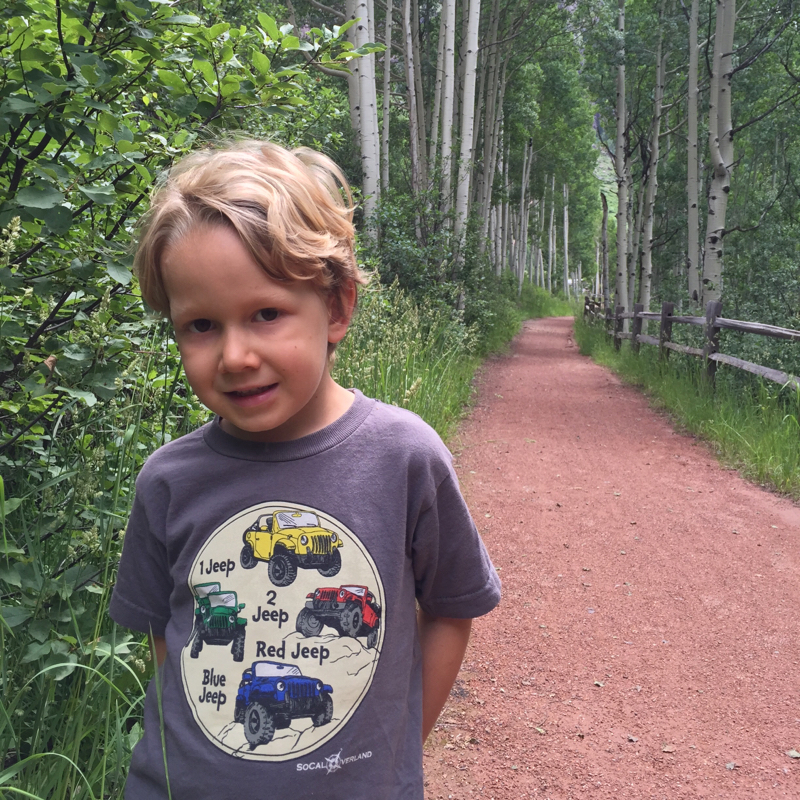
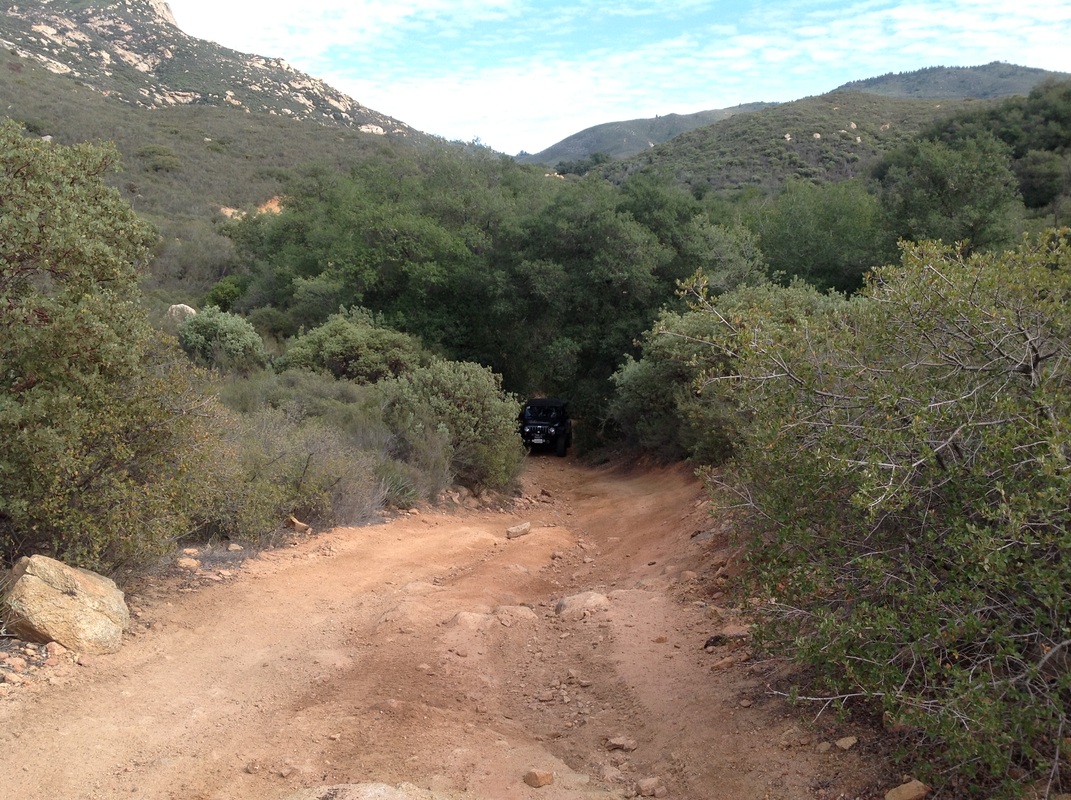
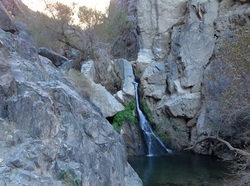
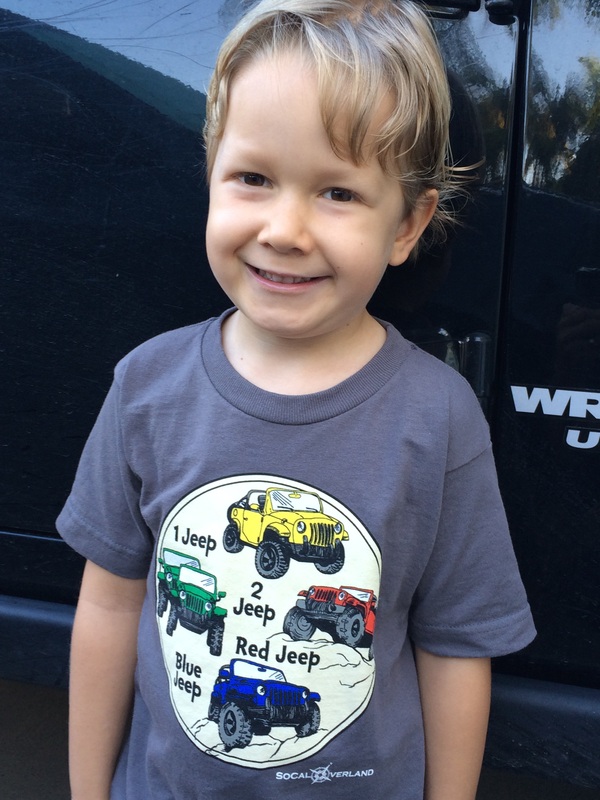
Well, we launched into Day 13 by driving from the Angler Inn in Placerville to Telluride; really just a short distance of about 10 miles. We first drove straight through town to get our views of the waterfalls and take a short walk, which is when I got this picture of our little Mouse on the trail in his "1 Jeep 2 Jeep..." SoCal Overland shirt.

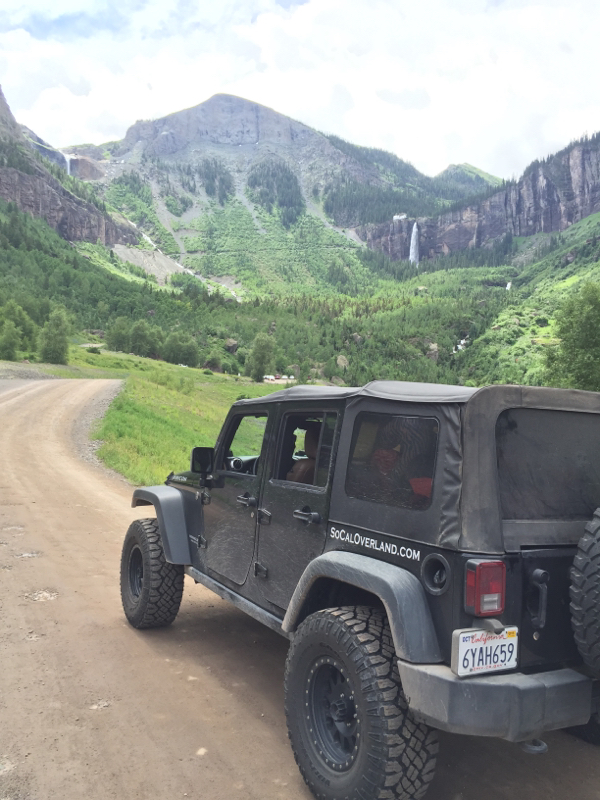
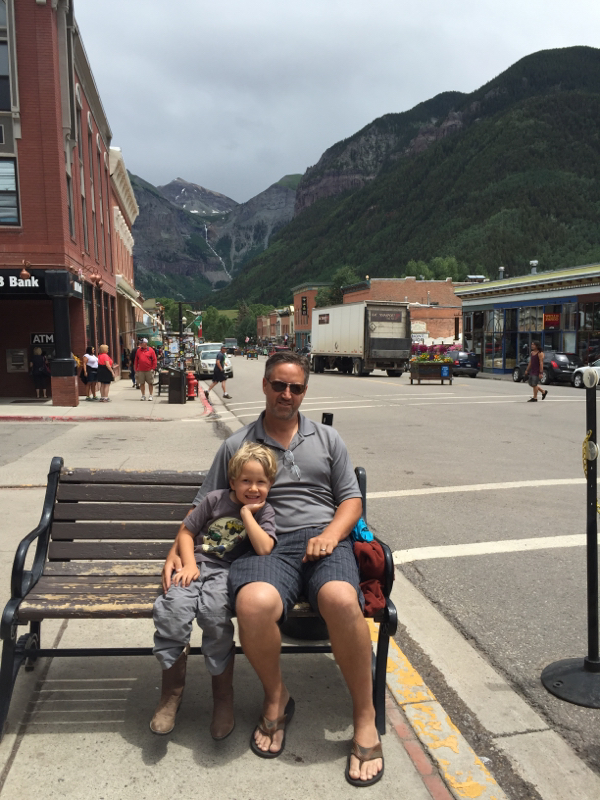
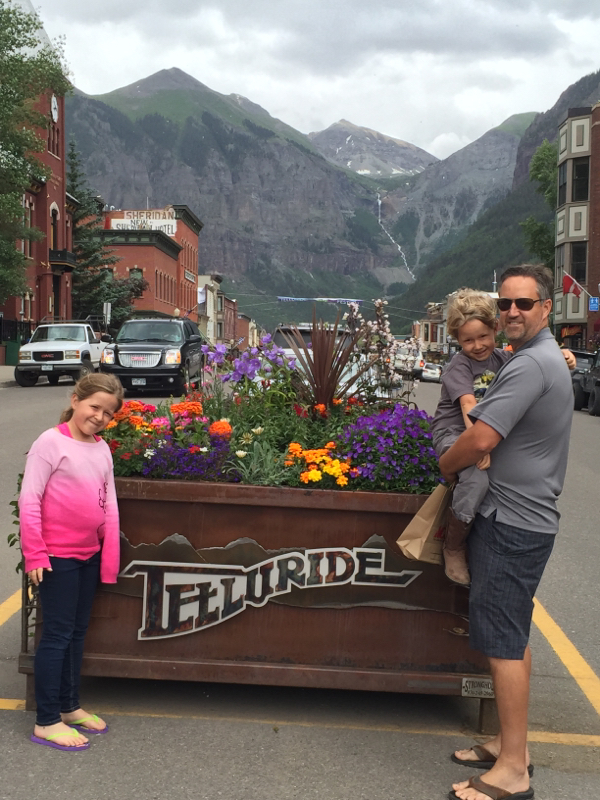
We spent most of the day hanging out in the cool little town of Telluride, eating lunch, shopping, and getting a latte from the girls at The Coffee Cowboy.

Picture
Picture
Picture
Picture

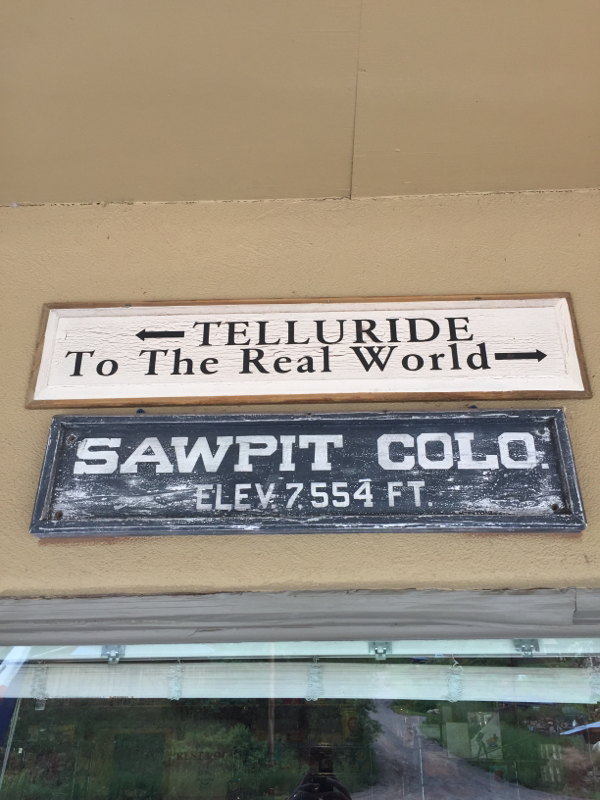
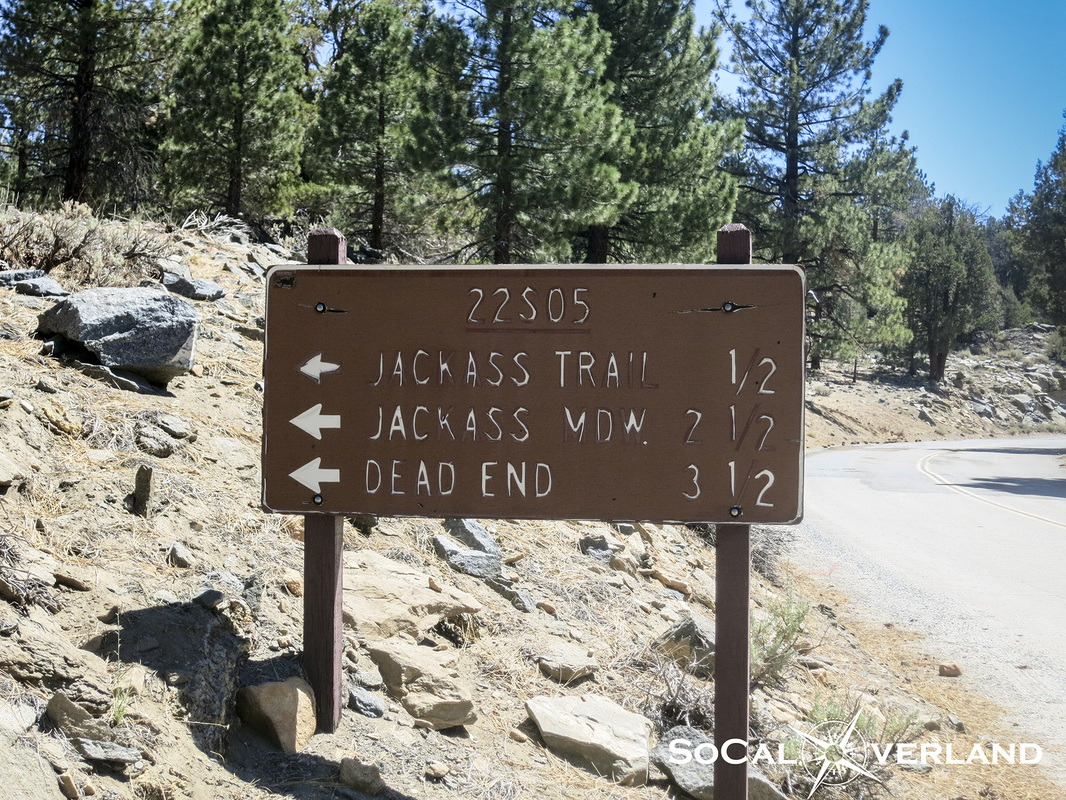
I also liked this little sign that is attached to the wall at the gas station in Sawpit on the way to Telluride.

Picture

After spending most of the day in Telluride, we needed to start making our way toward Ouray, Silverron, and eventually Durango where we will plan to stay a few nights through an Airbnb connection.

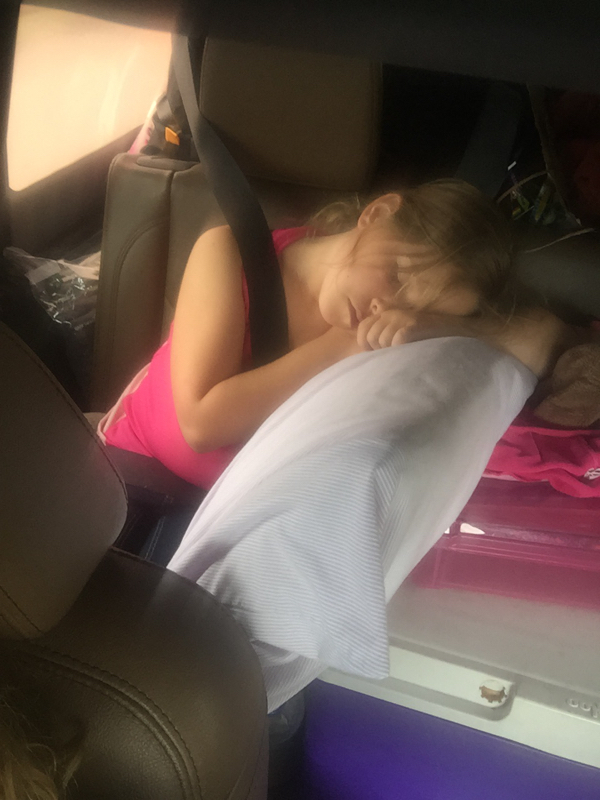
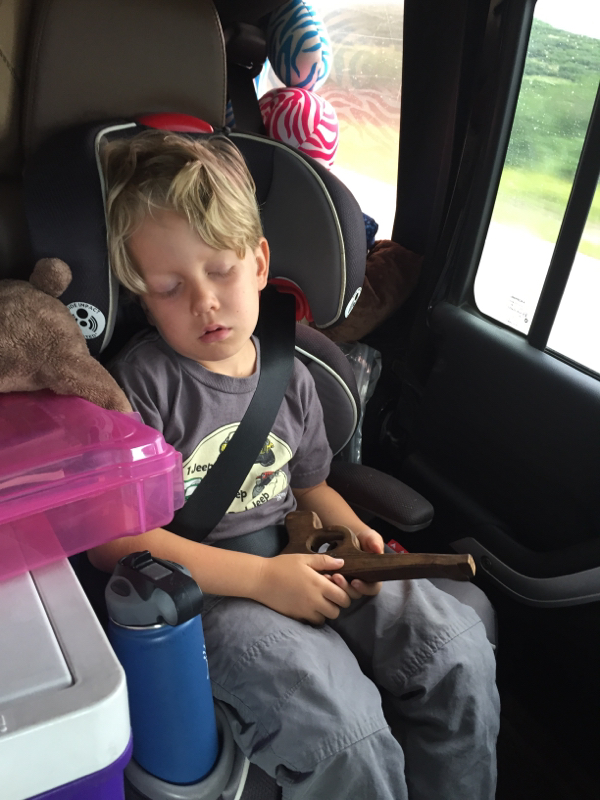
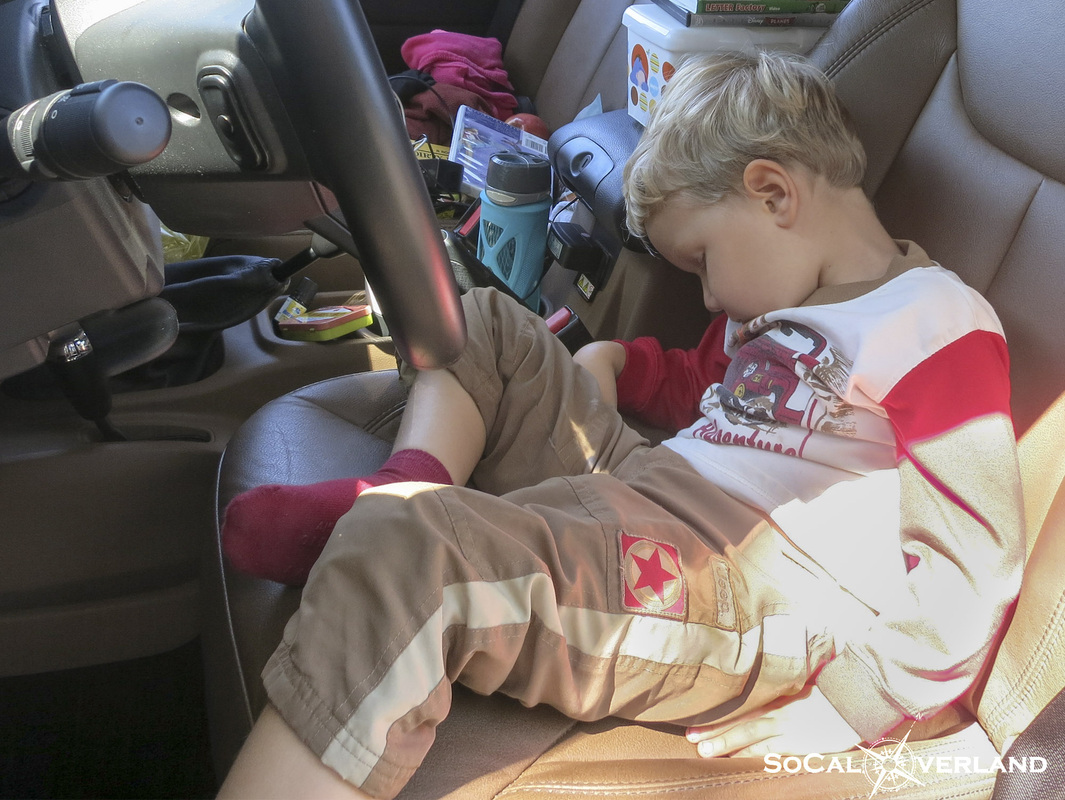
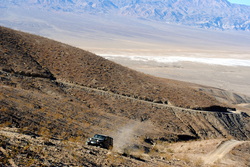
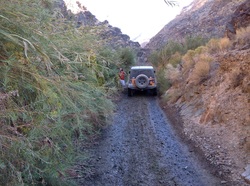
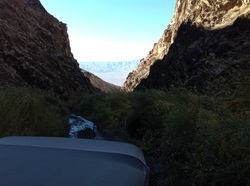
The drive up over the pass was filled with heavy rains and wind along the cliff hanger highway. There is no margin for error here so I took it slow to help keep things calm inside the Jeep. And I did such a great job driving that I put the kids to sleep; this is one of the very first times on this trip that the kids have actually slept while we were driving and they missed all of the scary stuff.

Picture
Picture

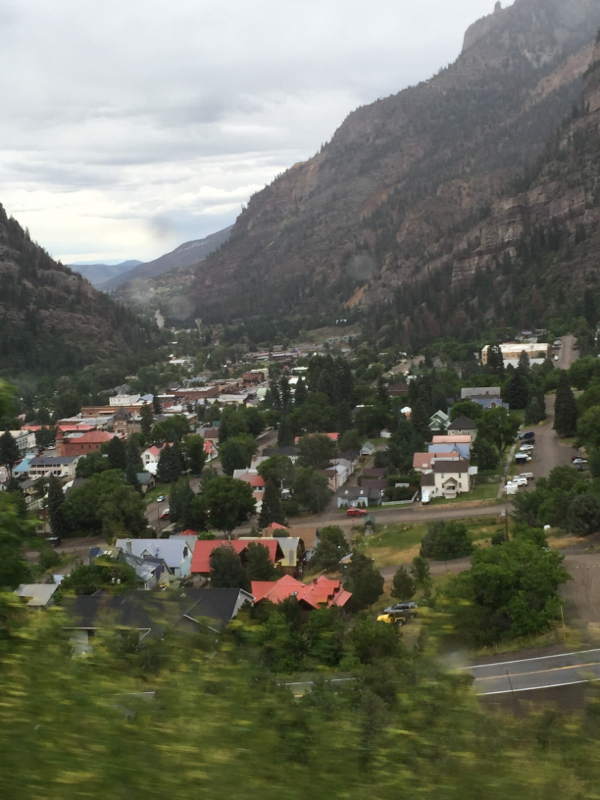
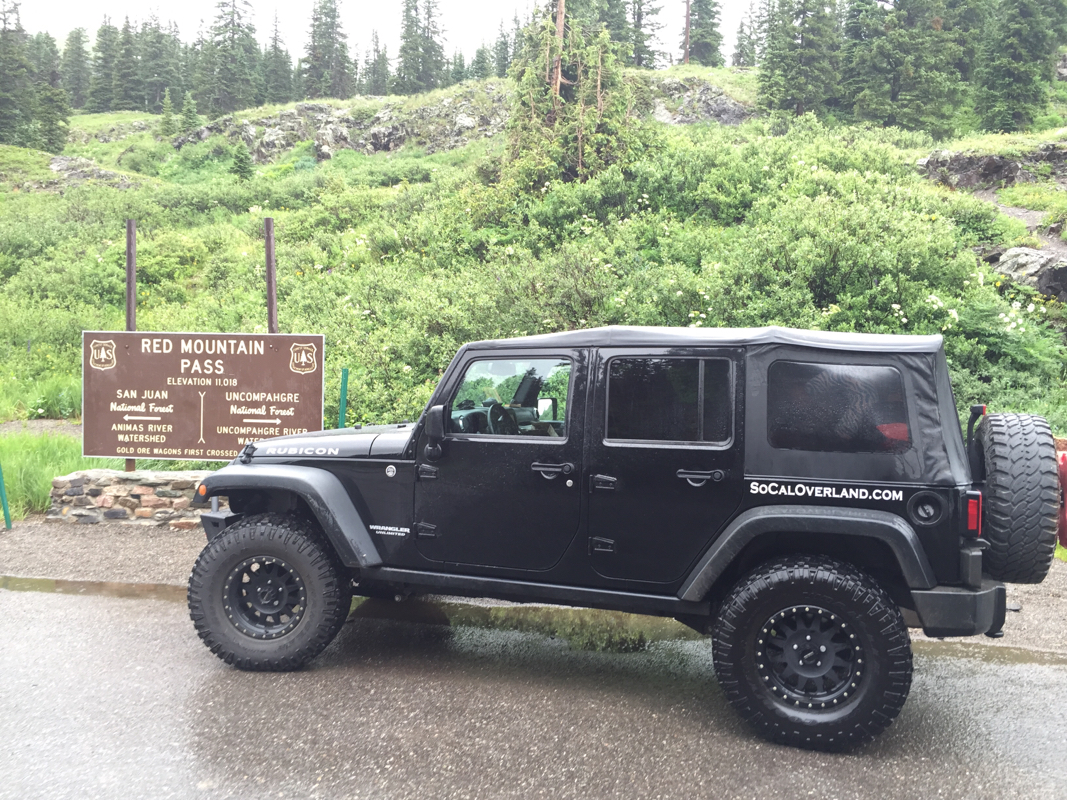
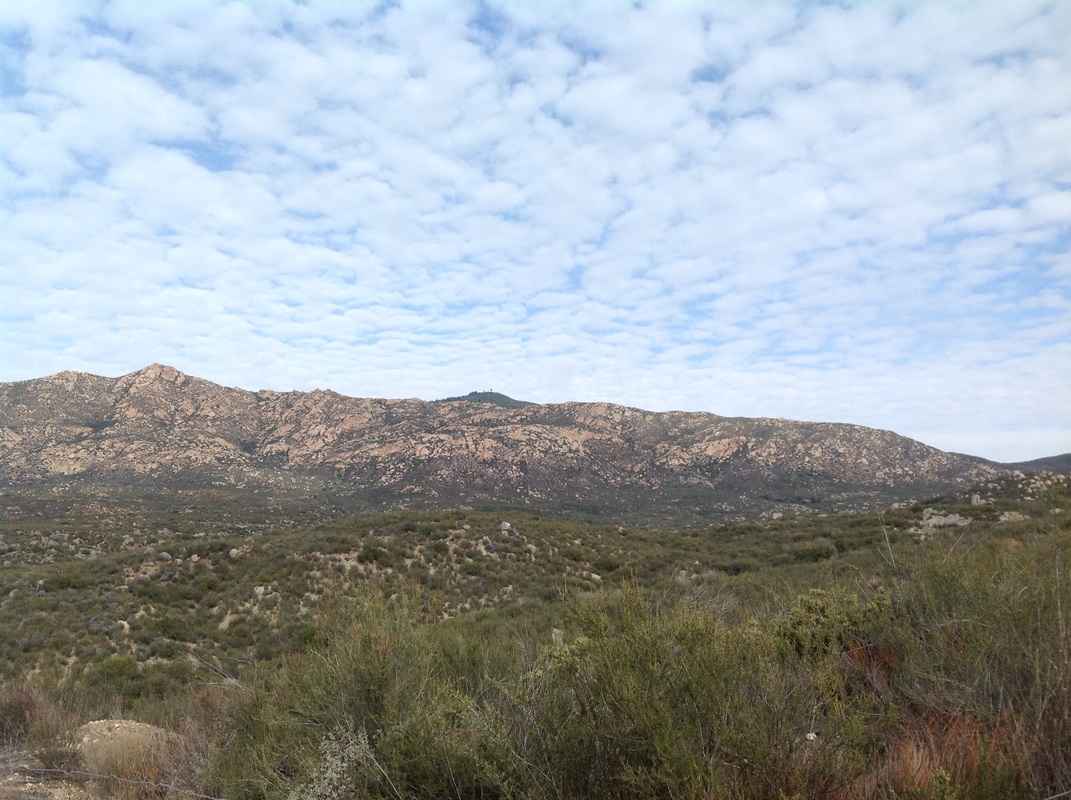
Looking back at Ouray as we climbed the mountain to over 11,000 feet.

Picture

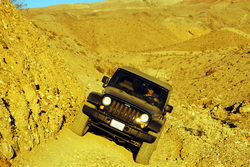
We reached the peak and remained motivated to keep going; we did have one minor side exploration, but decided to keep it limited as we knew we needed to get to Durango and have dinner and get to bed.

Picture
Picture

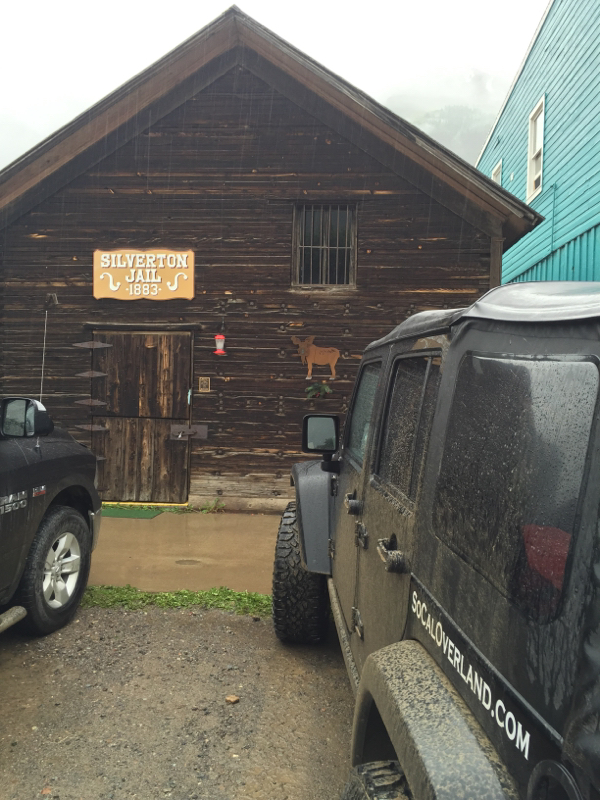
We arrived in Silverton, Colorado and it continued to rain on us so we decided to not get out and walk around. We made only two quick stops in Silverton, one for the potty at a Saloon, which happened to be next to the old jail and a second stop at a chocolate shop.

Picture

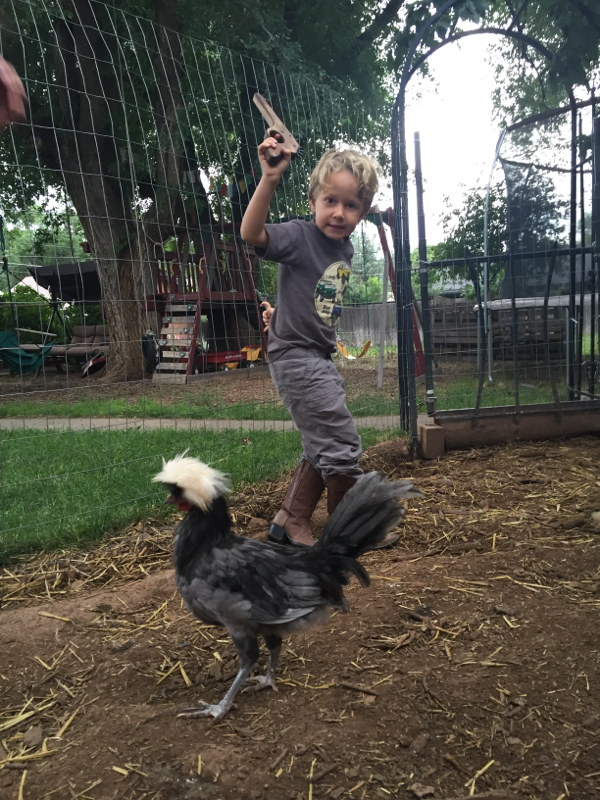
We finally made it down the mountain and into Durango arriving at our Airbnb house, which has a trampoline for the kids as well as 10 chickens. We are very excited to have fresh eggs for breakfast while this gun slinging Cowboy might have different plans for those chickens.

Picture

Tomorrow, we will take the bus up to Silverton and then ride the train (with all of the gold and silver in board) back to Durango.

0 Comments

Daily Inspiration - Dare to Adventure

8/6/2014

1 Comment

 
Picture
Shafer Trail.  Moab, Utah
1 Comment

Big Bear, CA - Clarks Summit

7/26/2014

0 Comments

 
Picture
With the goal of exploring new areas in Big Bear and also covering a lot of miles, we organized a day run up to Clarks Summit.  We started on the south-side of Big Bear off of Highway 38 near San Gorgonio Campground.  The trailhead marker is 1N04 off of Highway 38.

Overall, the days run would clock in at about 4 hours, including a few breaks...including lunch.  Total mileage is approximately 30 miles.

After airing down, we started the well-graded trail, which very gradually ascends the mountain side, passing by a few private camps along the way.
Picture
At approximately the six mile mark from the start of the original trail off of highway 38 is the intersection for Radford Truck trail number 2N06.  And despite the black diamond indicator on the trail marker, the biggest challenge was probably safely navigating around a lone mountain biker.
Picture
Ascending the mountain road, highway 38 quickly disappears into a sea of trees in the valley below.  The elevation gained on Radford Truck trail provides for excellent views across the valley and toward Sugarloaf Mountain.

Radford Truck trail was in fairly good condition this day; seems as if it were recently graded.
Picture
Sugarloaf Mountain is seen in the distance from the edge of Radford Truck Trail.  Sugarloaf peaks at 9,952 and is the tallest in the San Bernadino Mountain range.  In winter time, Sugarloaf Mountain would be covered in snow, of course only when it's a non-drought year in California.
Picture
At approximately the 12 mile mark, Radford Truck trail reaches Skyline drive, trail 2N10.  Skyline Drive is well graded and can be heavily trafficked in both directions.  Expect to see other off-roaders (including motorcycles and ATVs), hikers, mountain-bikers, and more.  Take care while driving to help prevent a head-on collision.

From the intersection of Radford Truck trail and Skyline Drive, turning west (left) onto Skyline Drive will lead to Clark's Summit (for a short hike) and eventually to the intersection for Clarks Grade.

The sign for Lodgepole Pine; head left.
Picture
At nearly 17 miles in, there is an option to hike out to Clarks Summit (we did not hike it this day).  And just after that point, is the intersection for Clarks Grade, trail marker 1N54 that leads down to Seven Oaks Road.

Clarks Grade is slightly more rough than Radford Truck Trail.  Though overall, easily traversed in a four-wheel drive vehicle with high ground clearance.  Possible for ambitious Subaru drivers.

Here there are more incredible views.  Though, keep your eyes on the trail while moving as this shelf-road could be unforgiving as many sections are sheer drop offs.  If you don't like heights, this may not be for you.
Picture
Picture
Overall, our journey amounted to nearly 30 miles and took about four hours to complete.

After airing up, the trail exits onto Seven Oaks Road, connects to Glass Road, and then to Highway 38, a few miles from the original trailhead.

If you are looking for a fun and easy trail that covers a lot of miles in one day, this is a good choice.

We will plan a return trip after winter arrives and there is snow on the ground.
0 Comments

Monache Meadow Trail

7/14/2014

14 Comments

 
Arriving in the vast expanses of Monache Meadow at 8,000 feet elevation instills a humbling feeling that exemplifies our reason for escaping the confines of daily life.
Picture

Day two of camping in the Inyo National Forest
-Monache Trail detail

Day two of camping in the Inyo National Forest took us on the Monache Trail adventure.  We expanded this days trail run by driving Jackass Meadow trail up to the Monache trail head.

Here is the Jackass Meadow trailhead off of Kennedy Meadows Road.
Picture
Taking the correct fork on Jackass Meadow trail leads up to Blackrock Road near Powell Meadow.  Make sure you travel with a map and GPS to maintain your course and not get lost.

Do you know the correct fork to take here?  Right? Left?
Picture
After exiting Jackass Trail and driving along Blackrock Road, there is a stunning view of Powell Meadow...just a teaser before making it to Monache.
Picture
Entering Monache trail on the primary dirt road.  The trail is approximately seven miles to Monache Meadow, plus another two miles to arrive at the primitive campsites.

Overall, the trail is easy and fun to drive.  There is a moderate technical rock section at approximately 1.7 miles that requires four wheel drive and high clearance.  Adding the additional two miles to arrive at the primitive campsites definitely requires four wheel drive (four low and a rear locker makes it easy) and high clearance is a necessity.
Picture
Here is El Chupacabra weaving between the trees and making easy work of Monache trail.  I think El Chupo was inspired by our Johnny Cash music, which made this section seem extra fun.
Picture
Taking a break along the trail to capture our rigs with Olancha peak in the background.
Picture
Crossing Snake Creek bridge at approximately 2.3 miles, prior to getting our first look at Monache Meadow.
Picture
Picture
At about 2.5 miles we were greeted by the vastness of Monache Meadow.  From this point, the trail continues through the meadow and includes a few whoop-di-doos.

At about five miles, there is a fork in the trail.  The dead end trail meanders down toward the Kern River.  Because we were planning to meet our motorcycling friends, we decided to stay left and continue on to the first crossing of the Kern River.
Picture
At approximately six miles is the first river crossing that leads to the other side of Monache Meadow, closer to Olivia's old ranch and a water spring.

Be sure to mind the boundaries and do not cross over any imaginary lines that are determined by marker posts.  Doing so can get you a violation from the ranger or at a minimum a stern warning.  Fortunately for us, we maintained on the trails at all times.  Tread Lightly, remember?

Does this not look like a swamp monster coming up from the bottom of a lagoon full of cow pee?
OK, it's just El Chupo exiting the first crossing of the Kern River...
Picture
After forging the first water crossing, we stopped to take in a closer view of Olancha Peak.

Continuing on from this point, it is worth crossing the meadow and driving up to the abandoned structures of Olivia's, just make sure to look with your eyes and to not disturb the things that exist there today.  The trail up to Olivia's is approximately one mile and ends in a turn-around to exit the way you entered.
Picture
The real cowboys were supposed to be "driving cattle" this weekend.  We were hoping our timing was right so the kids could take in the sights of cowboys in action, but this day we were not so lucky.

Though we did get to see lots of cows roaming the open fields.
Picture
Forging the Kern River a second time before taking a mid-day break for lunch and waiting around for our motorcycle friends to arrive.
Picture
The kids had a lot of fun exploring the Kern River and searching out fish in the deeper sections.  Fortunately no kids fell in the water this day.  Just be careful to not step in a fresh cow pie...

Our family photo in Monache Meadow with Olancha Peak in the background.  
Picture
We brought our Big Agnes shade to provide some protection from the sun and wind while we enjoyed lunch and continued our wait for our motorcycling friends to arrive.  Aren't motorcycles supposed to be faster on the trail than Jeeps?  We waited and waited...
Picture
Just as we were getting ready to eat everyone's lunch, the group arrived.

Here I am jumping in with many long-time moto friends for a group photo.  Next year I too may be doing this run on a motorcycle.  No, seriously.
Picture
After our late afternoon lunch and visiting with friends, we explored out to the edge of Inyo National Forest to reach the South Sierra Wilderness.  Travel into the South Sierra Wilderness is restricted, so we stopped at the gate and turned around.
Picture
From Monache Meadow, we explored Bake Oven and the Monache Meadows "sand dune".  Our final destination was the end of the trail and primitive camping sites where we had originally planned to camp, except for the restrictions on campfires during this dry summer, which had changed our ultimate choice of a camping location.

The final section of trail, which is completely optional, is moderate and requires four wheel drive and high clearance.  The Kern River crossing is deeper and longer in this section, but not a problem for the Jeeps.
Picture
We exited Monache trail using the same route that we entered.

Because dinner time was approaching and the kids had fallen asleep in the back seat (they slept even while we were wheeling on Monache trail), we decided to drive Blackrock Road down to Sherman Pass and back to camp.

Passing by Smith Meadow, it was impossible to not to stop and photograph this lush landscape.
Picture
Have you ever run Monache Trail?  If not, we hope you enjoyed reading about our adventure.  Maybe you will join us next time!

Thanks again to Robin Reid for editing our pictures.
14 Comments

Inyo National Forest - Fourth of July Escape

7/13/2014

1 Comment

 
Picture
With the summer sun heating up the southland this Fourth of July, it was no surprise to have thousands of people migrating to the somewhat cooler climates of our coastal beaches.

In a reversal, we decided to head out to the lower Sierra mountains where we were more likely to see a bear on the trail rather than another human being.

The day before the Fourth, we quickly packed our gear into the Jeep, strapped the kids into their seats, and were on the road by noon.  Driving north on highway 15, we steered toward highway 395, which would bring us to the high desert elevation of approximately 4,000 feet.  By the time we reached our turn-off point from highway 395 and pointed our rig toward the climb into the Sierra Mountain's, the temperature would peak at 111 degrees Fahrenheit!
Picture
With a full tank of gas and the Jeep fully loaded, we climbed nine mile canyon waiting for the outside temperature to relent from its 100+ degrees.  The Jeep's engine temperature held close to normal and after shutting off the air conditioning and dropping the windows, the fresh outside air began to cool us as we meandered closer to the forest of Kennedy Meadows.
Picture
While our original plan was to camp out in Monache Meadows this long weekend, our dry California winter resulted in fire restrictions that would prevent anyone from having a camp fire in far reaching areas of the Inyo National Forest.  And because we had planned to cook some of our meals on the open fire as well as marshmallow toasting for the kids s'mores, we needed to make a plan B.

As luck would have it, we had good friends camping in Troy Meadow this same weekend, where campfires were fortunately allowed.  We decided to connect with our friends for a weekend of camping.  While the larger group would be on two wheels and tackling the beauty of single track trails, us four-wheelers would seek out alternative routes for taking in the sights from the cool climate of the 8,000 foot elevation and forest covered mountains.
Picture
Picture
While the mountain temperatures were expectedly cooler than the desert below, we planned to use our REI Kingdom 6 summer tent, which was the right plan as day-and-night time temperatures were warm and comfortable.

Picture
Fourth of July morning kicked off with a hot coffee from our Jet Boil french press.  Plus some half and half to make a quasi-latte.

Here I am with my homemade Warn coffee mug that was my co-pilot for making breakfast burritos.

After breakfast, we went out for some initial exploration on Beach Meadow and Lion Meadow trails.  We knew the second day of wheeling would be an all-day adventure, so we tempered our ambitions.

Here is the 21S02 trail head off of Kennedy Meadows Road, approximately one-half mile from Black Rock Station.
Picture
Before heading too far into Beach Meadow trail, we aired down for a softer ride.  Everyone seemed happy for letting air out of the tires.
Picture
Beach Meadow trail is fairly tame and provides for beautiful views of the distant hills and the valleys below.

Along Beach Meadow trail, the single track motorcycle trail parallels some sections and eventually drops down into the meadow.  We decided not to hike down to the meadow and instead continue on.  However, Beach Trail eventually came to an end with overgrown plants and small trees.
Picture
After reaching the end point on Beach Trail, we regrouped and considered our options.  We determined we should back-track and try a few other trails.
Picture
Picture
We explored Lion Meadow trail, however, this too turned out to be a dead end.  But nevertheless, it was fun exploring new territory.

And finally, we took Little Horse Meadow trail, which to no surprise was a dead-end as well.  However, there is a nice plateau at the end of Little Horse Meadow trail and would provide for an excellent remote campsite.  The bonus is a view of Mt. Whitney in the far distance.
Picture
A closer look at Mt. Whitney in the distance with a lone cloud floating above and a few patches of snow dotting the mountainside.
Picture
After our wheeling adventure, we headed back to camp to cook dinner over the open fire.  Salmon and corn on the cob.  Our new grill worked very well and provided ample space for cooking our dinner as well as for our friends that decided to take advantage of this authentic cooking convenience.
Picture
Picture
We will also be posting pictures from our second day of wheeling, where we explored Monache Meadow for an all-day adventure of trails, river crossings, and a little rock crawling.  Come back soon or connect with us on twitter to get our next update.

Photo editing credit goes to Robin Reid.  Thanks Robin!
1 Comment

Pismo Beach

6/10/2014

0 Comments

 
I can't count the number of times I have been to Pismo Beach, it's almost as if I was born there.  As just a young kid, I remember camping every year at Pismo Coast Village and playing on the dunes.  That evolved to camping on the state beach (Oceano Dunes) with my motorcycles and occasionally bringing my Jet Skis for wave riding.

Pismo is the only beach in California that allows vehicles to drive on the sand.  And we have seen that available off-roading and camping space shrink in previous years.  So, following my installation of the Mopar Cold Air Intake, I put the kids in the Jeep at 6AM and drove up to Pismo in time for enjoying lunch on the beach.

I thought the kids would be more surprised of our driving right onto the beach, but to them it all seemed normal for some reason.  I was excited as all of my previous trips to Pismo were mainly focused on motorcycle riding, but this would be my first run in the dunes with the Jeep.

But before we get there...let's back up and note that traffic in Los Angeles has only gotten worse.  My original plan was to take the 405 North to the 10 West and drive the coast North through Malibu and up into Ventura.  That plan was altered by stop-and-go traffic, so I quickly jumped onto the 90 West and headed into Venice to take the streets, which was not much better for traffic.
Picture

Blowing Chunks in Buellton

We eventually made it to the coast and gained momentum as we passed through Malibu.  Heading up Rice Road, we jumped onto highway 101 and moved at a good pace until we were coming down the pass toward Buellton.

I looked back and saw my little guy on the verge of a nuclear meltdown.  Unable to determine the problem while in motion, I quickly found a safe place to pull off the road, which turned out to be this very cool organic farm.  But without getting side-tracked, I pulled my little guy out of the back seat and before I could get him onto solid ground he was blowing chunks.
Picture
After emptying his stomach, he passed out in the front drivers seat of the Jeep.  Here he is all decked out in his favorite matching Jeep outfit.

After a few minutes passed, I put MotionEaze (great for eliminating motion sickness/nausea) behind his ears and transferred him back into his seat where he continued sleeping.  And in some magical way I pledged to smooth out the ride.
Picture
Despite some lost time on the side of the road near Buellton, we made it to Pismo Beach by 11:30AM.
Picture
We drove to the southern most accessible point on Pismo Beach to set up our blankets for a lunch together.  While we enjoyed lunch and played in the sand, it was hard not to notice a particular Black Ford Raptor doing hot laps up and down the beach.

In the meantime, an unsuspecting couple stuck their white Silverado in the sand near the shoreline.  It was not long before Mr. I'll Save You came to the rescue with his Raptor.  His recovery plan for Mr. and Mrs. Unsuspecting was to pull them forward toward the deeper beach sand, instead of backwards onto the harder packed shoreline.  With a quick and heavy foot, the Raptor was sunk into the sand and sitting on its frame.

Fortunately the yellow Silverado showed up to help save the day.  At this point all three trucks were strapped together and not working in unison.  Mr. Bumble Bee in his yellow Silverado eventually stuck himself in the sand as well.  Fortunately Chevrolet does not offer that yellow color any longer.
Picture
A short while later, the Park Ranger arrived to investigate and help coordinate the removal of Mr. Bumble from his sandy situation.

Brilliance finally struck the large crew and they decided to man-push Mr. and Mrs. Unsuspecting back onto the packed shoreline.

Kaelyn sat in the sand and watched in amazement as the event unfolded.  She would occasionally ask me why I wouldn't help.  My answer was that I was entertained and too busy taking pictures of the event.  I think she was enjoying the show as well.
Picture
Finally with Mr. and Mrs. Unsuspecting removed from their predicament, it was time to dislodge Mr. I'll Save You.

Alas, enters Mr. Black Smoke in his diesel powered white Ford FX4 to help end this story.  However, it was not without help from the Lone Ranger and his shovel that helped to clear a path for the Raptor's removal.
Picture
The upside?  Those trucks left some deep holes to play in!  
Picture
Of course it was not long after that Mr. and Mrs. Innocent arrived on the scene and stuck their white Sierra down to the frame in the deep sand.

Now that Mr. I'll Save You was no where to be seen and this couple was stuck deep, I felt compelled to help.

The first step was getting their tires aired down for better floatation.  Second, hook up the tow strap from hitch to hitch.  And third, was putting the Jeep in 4 Low with the front and rear axles locked.  I used second gear and popped them right out of their predicament.  They were delighted and I felt it was a nice way for the kids to see how we can help other people in need.
Picture
And of course the kids then decided to have a tug-o-war contest with the Jeep.  I think it was a tie game.
Picture
Here's Kaelyn saying "The Jeep Can Do Anything".  Or is it, "Daddy, can we go get some ice cream now?"
Picture
We will definitely look forward to making another trip to Pismo Beach, most likely a camping trip so we can do some more wheeling in the dunes and get more action photos.

After the events on Pismo Beach, we drove up to Morro Bay to spend the remainder of the weekend.  We spotted this Wrangler Rubicon Brute conversion on the streets of Morro Bay.  Very nice.  Would you drive it?
Picture
In addition to having my morning latte at The Rock Espresso Bar (275 Morro Bay Blvd) each day, I happened upon a vegan eatery called Shine Cafe (just up the street from The Rock).  Everything is fresh and organic.  They also use mostly local farmers for their food.  I have eaten vegan before and Shine Cafe makes some of the best tasting food, including green smoothies.
Picture
My organic vegan burrito at Shine Cafe.  Delicious.
Picture
I am looking forward to enjoying more recipes like this on upcoming overland trips.
0 Comments

Memorial Day Jeep Run

5/28/2014

1 Comment

 
With future overland trips already scheduled, we were not planning to go anywhere far for the Memorial Day weekend.  Though, we did get out to one of our local trail systems for some wheeling.  And we couldn't resist taking this photo with Ol' Glory.
Picture
Hope you had a fun and safe Memorial Day weekend.
1 Comment

Blair Valley Pictographs

5/26/2014

2 Comments

 
After seeing petroglyphs in Moab, we were in search of more Indian markings, but closer to home.  Some searching turned up Indian petroglyphs in Blair Valley, which is located south of Borrego Springs between Julian and Ocotillo Wells.

Getting there is easy.  From Scissors Crossing at highway 78 and S2, drive south 5.3 miles on highway S2.  Keep watch for the "Little Blair" sign on the side of the road. Take this turn off to follow the trail in.  Overall distance to parking area for pictographs is 5.5 miles.  The road in is packed sand, single lane wide.  The route is suitable for any SUV or truck as well as most cars.  If you are in a car and see soft sand ahead, keep your speed and don't slow to help prevent getting stuck.

Primitive camping is also allowed in Blair Valley and there are many good areas for this along the driving trail.
Picture
The beginning of the trail parallels highway S2 before edging off to the left.  It could be easy to go fast here, but watch for oncoming traffic.
Picture
Stay left at 1.2 miles and then at 1.8 miles veer right.  I then turned right at 2.3 miles to follow along the rock covered hills.  There are good spots for camping in this area along the hills.
Picture
The trail follows along these rock covered hills that provide for nice camping areas.
Picture
After following alongside the dry lake bed, I turned left at 4.1 miles , following the trail up to the parking area for the pictographs.

There are giant Ocotillo plants along the way.
Picture
Arriving at the end of the trail, there is plenty of parking.  Look for this sign with general information regarding the Indian pictographs.  
Picture
The hiking trail is about one mile each way.  There are only a few small boulders to scramble around to follow the sandy hiking trail to the pictographs.
Picture
After ascending to the top of a small incline on the hiking trail, the backside descends toward the pictographs. Along the walking trail there is mostly brush and a few Ocotillo plants.  Walking there takes about 20 minutes.
Picture
Look for this large rock on the right side of the trail.  Here you will find the Indian pictographs.  There does not seem to be any meaning for the shapes of these pictographs, so you can draw your own conclusions.
Picture
Up close, you can see the designs, one of which seems to be the sun.  Not too sure what messages the other pictographs are supposed to convey.
Picture
If you have additional time to explore this area, you can hike to the top of Ghost Mountain to visit the Marshall South home.

Leaving the parking area, begin to backtrack the main road; after a short distance you will find the trail for the Indian Morteros on the left.  You will come to the three-way intersection after about 1.4 miles (measured from the pictograph parking area), stay left and look for the Indian Morteros sign.  You can take this hike or continue on driving this alternate route back out to highway S2.  Driving beyond Morteros sign, stay to the right, near the bluffs, where you will come across more good areas for primitive camping.  Continue the driving trail a short distance and it leads out to highway S2.  Turn right to return back toward Scissors Crossing.

While I have not camped out here, it seems like a great place for a weekend trip.  Have you been camping here?  What's your opinion for camping in Blair Valley?
2 Comments

Los Pinos Trail to Espinosa Trail from Corral Canyon

2/2/2014

0 Comments

 
What better day than Super Bowl Sunday to do some four wheeling?  With no one else expected on the trails this day, it was a perfect opportunity to explore a local San Diego trail out of Corral Canyon off of Highway 8 about 50 miles east of downtown San Diego.  The route is Los Pinos Mountain trail to Espinosa Trail and is about 20 miles with some fantastic views and a few moderate challenges.
Picture
Picture
After getting off the main road and entering Corral Canyon, the road winds back a few miles before reaching four corners.  At four corners, a right hand turn begins the trail, which starts as a narrow road that quickly gains altitude along an edge of the cliff drive.  Starting out there are clear views of Los Pinos and the Lookout Tower in the distance.

Picture
Unfortunately, this day the gate was locked and the Tower closed.  I guess the Tower guard is a bigger football fan than I.  Will have to come back another day for a panoramic view from the Lookout Tower.

Picture
After turning around at the locked gate, to head down the trail, there are beautiful panoramic vistas of the green landscape with pine trees poking out all over.

Picture
Heading down the easy trail from the locked gate.  There was a previous days rain that left some mud holes to splash in along the way.

Reaching the intersection.  Turning left here begins the more moderate Espinosa Trail.  The trail drops into a canyon and goes into the distance beyond the massive rock outcropping.
Picture
Picture
Only some moderate rock obstacles along the way.

Picture
However, the trees and bushes made for a few tight squeezes, which adding to the trail striping along the doors and windows of the Jeep.

The trail provided for a lot of fun twists and turns and rocks to navigate.  Here is the Jeep hiding down in the valley covered by tree canopies.  There was one technical off-camber step-down rock section that was a little tricky without a spotter.  I must have walked the line three times to memorize exactly where to put the wheels.  With the recent rain, the rocks were a little slippery, which added to the fun, but the Jeep held tight and rolled on through without a hitch.  Then, getting ready for a little climb out of the valley.
Picture
Picture
At about the half way point (10 miles approximately), there is a clearing that made for a nice open space to take a break and enjoy lunch.

Picture
Stretching out the front paws to see how far the articulation will really go.

Picture
The trail eventually becomes flat and easy, which provided for some faster paced trail blazing and drifting through corners.

Picture
At the Y intersection, Corral Canyon Road goes to the left and Skye Valley Road is on the right.  Keep right to Skye Valley Road for more vistas of the distant Lookout Tower.

Across the valley, the Lookout Tower is perched at the top of the green covered mountain top.
Picture
Picture
Along the way on Skye Valley Road, you will come to Bob Cat Meadow primitive campground.  Continuing on leads back out to four corners and down onto Corral Canyon Road.

Airing up before hitting pavement again.
Picture
0 Comments

Panamint Valley

11/25/2012

0 Comments

 
Panamint Valley is a great location for fall and winter off-roading.  Temperatures are not too hot during the day and night time temperatures are reasonable.   This two-day overland trip included rock crawling up to the old defense mine on day one and a longer adventure on day two.  Panamint Valley Springs Resort, basically the only facilities in Panamint Valley, has a quiet campground with spectacular views across the valley.  On this overland trip, we tent camped one night in the PVSR campground.  PVSR also has rooms and a restaurant that serves a wide variety of beers and warm meals, in case you forgot your camp kitchen.
Picture
An early morning departure landed us in Panamint Valley well before lunch time, providing some time for initial exploring and this photo with the Death Valley National Park sign.

Picture
We randomly came across a fellow off-roader and quickly made plans to climb up to the Defense Mine.

Picture
With three Jeeps in our group, we were able to make it up to the mine in good time.  Decades ago, when the mine was functional, the trail was a well maintained dirt road.  But after years of erosion and falling rock, a high clearance 4-wheel drive vehicle is necessary.

Picture
Continuing the climb up from the valley floor.

Picture
Nearing the mine, there is plenty of parking.  A short hike leads up to the mine entrance.

Picture
There are remains of some mining equipment, plus the structures and chutes.

Picture

Picture
Looking up the remainder of the canyon.  If you are a good driver and equipped, you can attempt the climb up the face of this V canyon.

Picture
Entering the mine.  It gets dark quickly, lighting is a must have.  Overall, the defense mine has very little rubble on the floors, indicating how solid this rock mountain really is.  You also need to pay close attention to your route as there are many additional chambers that go off into other directions, making getting lost an easy thing to do. There are also multiple levels of this mine, ladders climb up to additional levels that then have eventual exits at higher points in the mountainside.

Picture
Departing from Defense Mine, there is an easy 4 wheel route up to Lookout City, a point that provides incredible views spanning across Panamint Valley.  Especially nice as the sun was setting.  Old structures are found along the roadside.

Picture
The view from Lookout City as the sun begins to set.

Picture
Airing up at the end of the trail, before hitting the pavement back to Panamint Springs Valley Resort for dinner and some sleep back at the tent.

Picture
After dinner, we literally mapped out day two, using the map on the wall of the PVSR restaurant.

Picture
Day two started out with a hearty breakfast and a short drive to the trailhead for Darwin Falls.  The hike to Darwin Falls takes about 30 minutes up a large sand wash.  The water here flows year round and also supplies PVSR with water year round.

Picture
After our hike to Darwin Falls and some moderate 4 wheel exploring, we crossed the valley floor in search of the Pleasant Valley trail head.

Picture
Quickly gaining altitude.

Picture

Picture
The terrain varied while climbing Pleasant Canyon, coming across water and mud where you might least expect it.

Picture
The valley disappears behind us.

Picture
More climbing.

Picture
Nearing the top of Pleasant Canyon.

Picture
Literally the high desert.  Here the trail cuts across to Southpark Trail.

Picture
Nearing Southpark Trailhead.

Picture
Before heading down Southpark.

Picture
We were somehow pre-occupied with safely navigating around “chicken corner” and forgot to take pictures at that point.  The trail gets skinny on the shelf road and is also off-camber, angling your vehicle to the shelf side of the trail.  It helps to have a spotter to get around chicken corner.  The bridge crossing that followed was in good condition, though there are warnings for vehicle weight limits.  Coming down the remainder of Southpark took some time, with boulders and other obstacles to navigate.

Picture
There are a few tight switchbacks on the way down, with slippery gravel.  Though the Jeeps held tight.

Picture
The descent continued on with deep ruts, rocks, and, switchbacks….but provided outstanding views of the valley below.

Picture

Picture
Hitting the pavement as the sun went down and the moon rose.   Just enough light to air up and head home into the darkness.

0 Comments

    Share your Overland Story

    Are you an overland travel adventurer?

    Then share your adventure with the world on SoCalOverland.com

    From trips to tricks to gear and vehicle upgrades or just a favorite camping recipe.

    Submit your story and pictures via email to me at Mike@Socaloverland.com and have your adventure posted right here!

    Now Available! SoCal Overland Shirts

    Picture

    SoCal Overland Hats are Here

    Picture

    Categories

    All
    Anza Borrego
    Big Bear
    Camp Gear
    Camp Gear
    Camping
    Daily Inspiration
    Death Valley
    Hiking
    Jeep And Accessories
    Jeep Repairs
    KTM 350 EXC-F
    Land Cruiser
    Off Roading
    Overlanding
    Safety
    Tent Accessories
    Tent Accessories

    Archives

    June 2016
    March 2016
    July 2015
    June 2015
    January 2015
    December 2014
    November 2014
    October 2014
    September 2014
    August 2014
    July 2014
    June 2014
    May 2014
    April 2014
    February 2014
    January 2014
    December 2013
    May 2013
    November 2012
    October 2012

    RSS Feed