
We recently installed the Roto Pax Gas Can Carrier onto our Jeep. Here are a few step-by-step pictures documenting the installation.
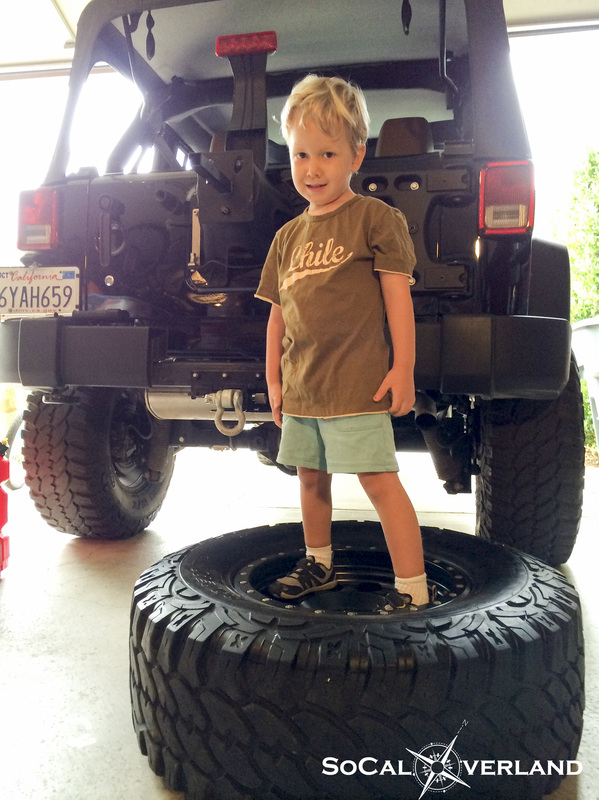
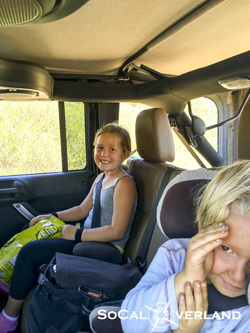
Step 1: Recruit your best helper.
Step 1: Recruit your best helper.
After you have recruiter your helper, remove your spare tire and as with all Jeep projects, toss out the instructions.
Here are the components we ordered through Quadratec:
(Two) Two gallon Roto Pax Gas Cans
(One) Roto Pax Mount Bracket (made by Olympic)
(One) Roto Pax Mount Kit
(One) Roto Pax Extension
Tools:
Torque wrench for removing and re-installing spare tire to ft. lb. specs
Socket Set
Allen Key
Lock Tite
Installation Time:
Less than one hour. More than one hour when two kids are helping.
Here are the components with rear tire removed and carrier ready for Roto Pax Installation.
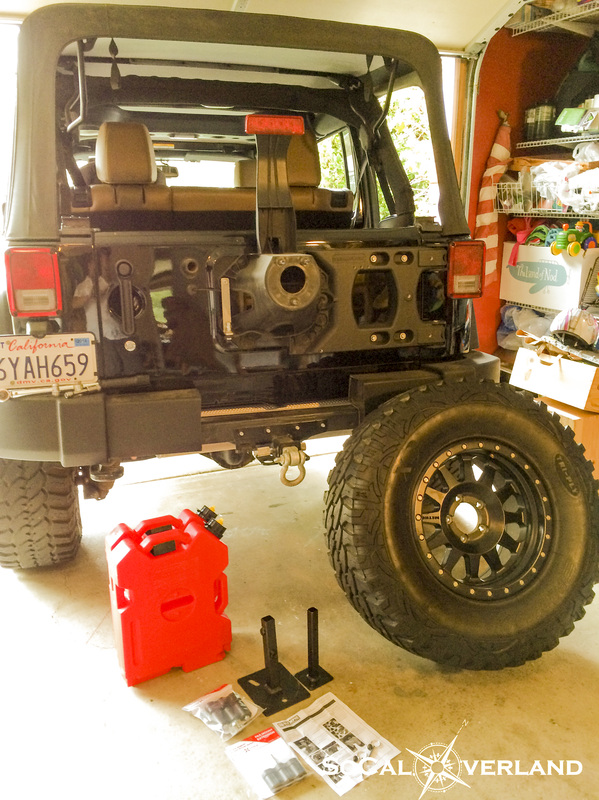
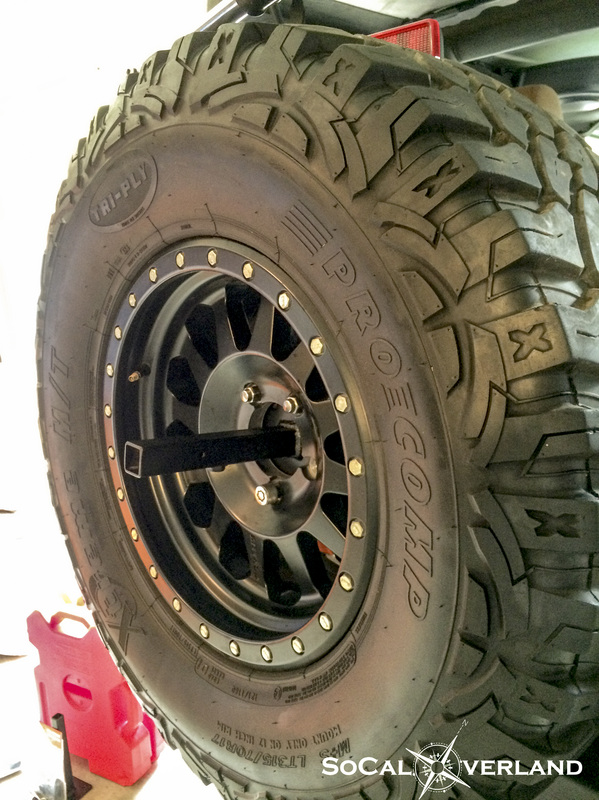
With spare tire removed, mount Olympic Mount onto spare tire carrier.
Install spare tire onto carrier without bumping the Mount and knocking it off (we got it first try).
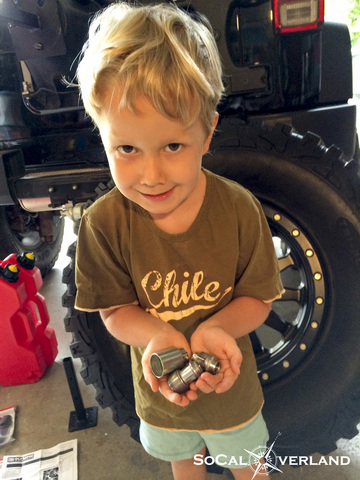
I also used my helper to hand over each lug nut, one at a time, while I held the spare tire in place with the girth of my belly. This allowed for quick and easy installation of the lug nuts.
Carrying an extra four gallons of gas (approximately 32 pounds, plus weight of cans) will add to the overall weight of the tire carrier, however, my Teraflex hinge mount has been superb and is ready for this extra weight.
Install spare tire onto carrier without bumping the Mount and knocking it off (we got it first try).
I also used my helper to hand over each lug nut, one at a time, while I held the spare tire in place with the girth of my belly. This allowed for quick and easy installation of the lug nuts.
Carrying an extra four gallons of gas (approximately 32 pounds, plus weight of cans) will add to the overall weight of the tire carrier, however, my Teraflex hinge mount has been superb and is ready for this extra weight.
Here is my helper with lug nuts ready to go. And the spare tire installed with Olympic Roto Pax Mount.
| 
|
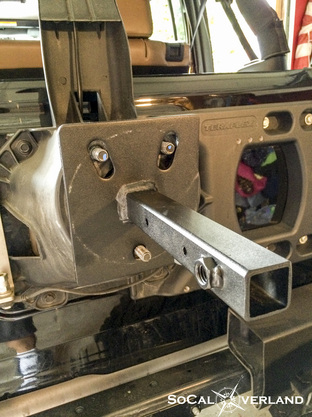
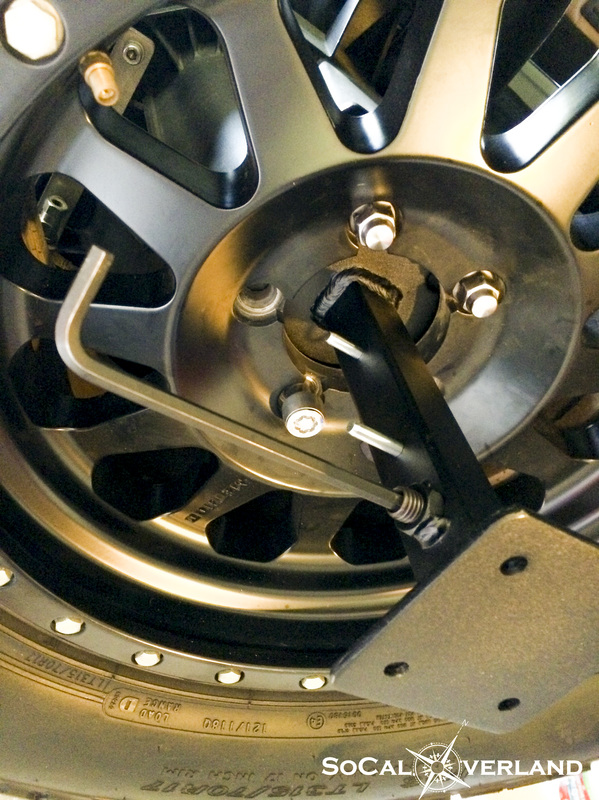
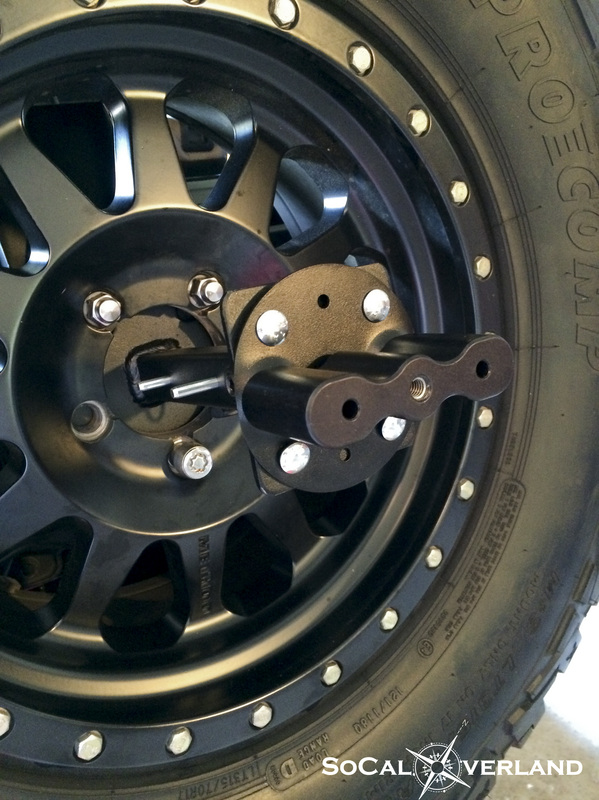
Next, install the male end of the Mount Bracket, locking into place with two pins and also two allen bolts.
Mount the round mounting plate (included with Olympic Mount Bracket) to the Roto Pax Mount (included with your Lox Mount) and secure with the two bolts. And that's how you use the word "mount" five times in one sentence.
I also put a drop of Lock Tite on those two bolts to help ensure they remain securely in place for a long time.
Also, if you are looking at my tire valve stems and notice that I never have valve caps, that's because my kids are always taking the caps off. And then they disappear in the garage. The kids will tell you that they have never touched the valve caps, but I know they are taking them when I'm not watching.
| 
|
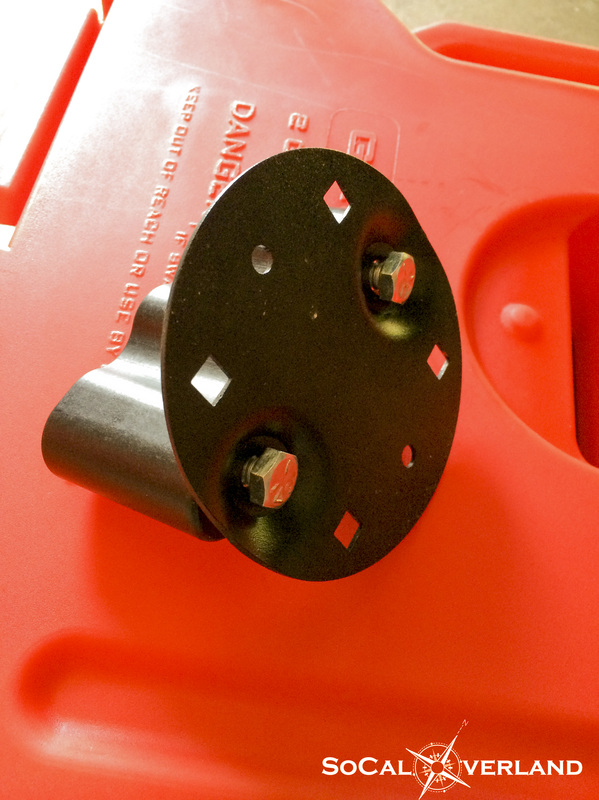
In this next step, use the included hardware (from the Lox Mount package) to attach the round mounting plate to the Olympic Bracket.
| 
|
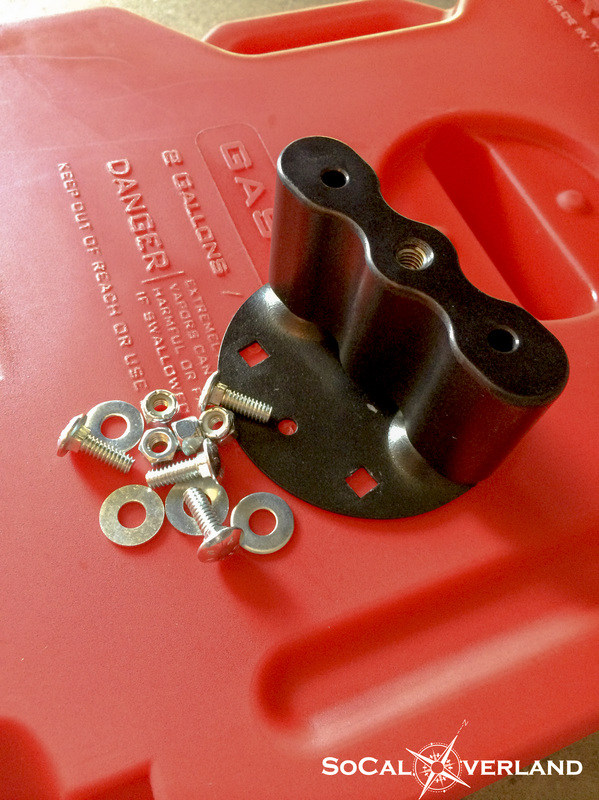
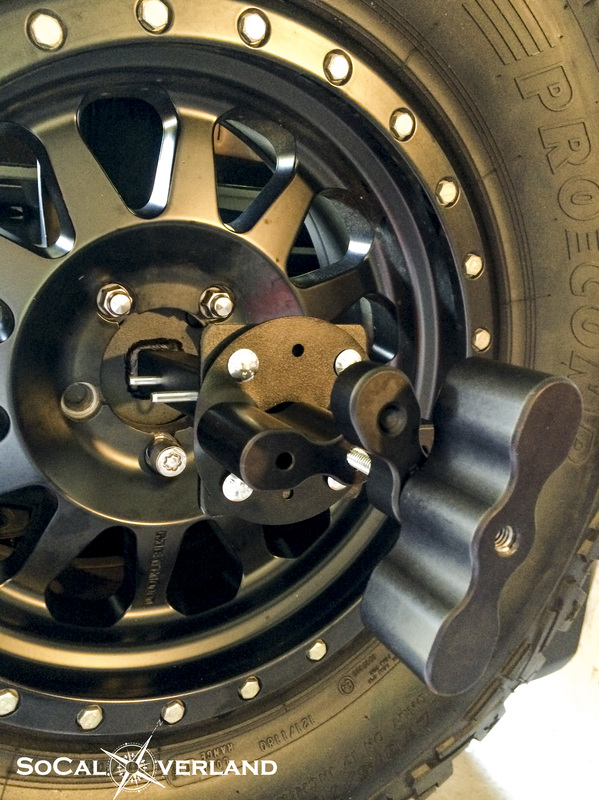
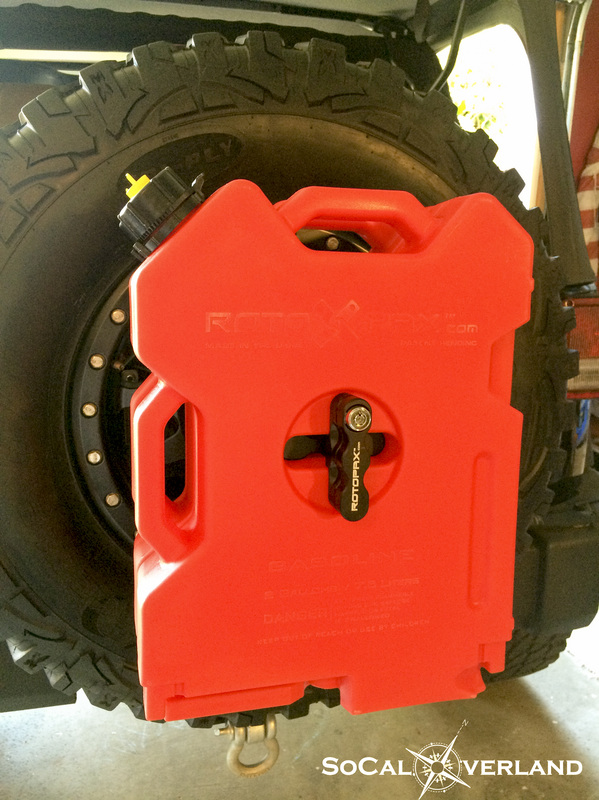
If you are planning to carry two (yes two) two gallon Roto Pax gas cans, you will now install the Pax Mount Extension piece. Install by hand tightening and then place your first Roto Pax gas can onto the mount and turn the T-Handle into the vertical position so that it holds the first gas can securely in place. The extension mount is also seen here in the horizontal position and will be used to carry your second gas can.
| 
|
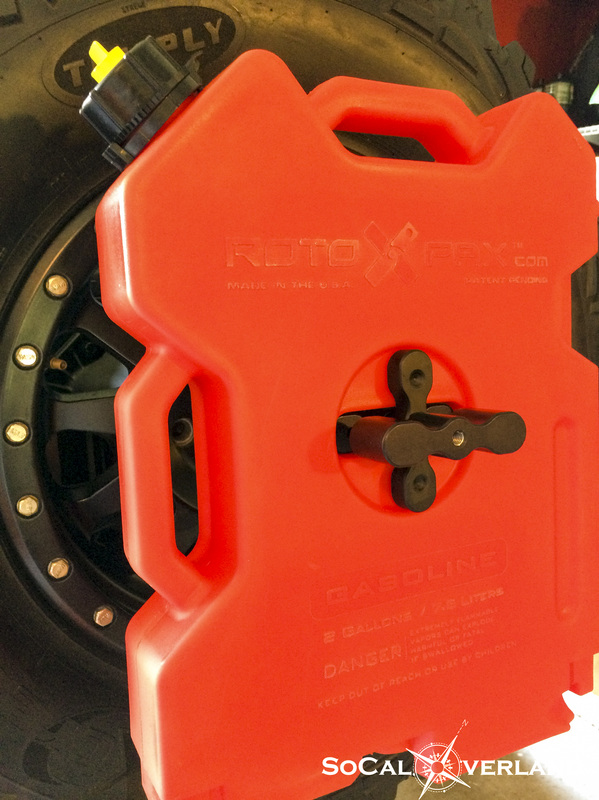
Install your second gas can and using the remaining Lox T-Handle and Lower Wing combination from the Lox Mount package, secure this piece into place by hand tightening.
Turning the T-handle into the vertical position secures the gas cans into place. If you have the Lox Mount with lock (so no one can steal your gas cans), install the lock now.
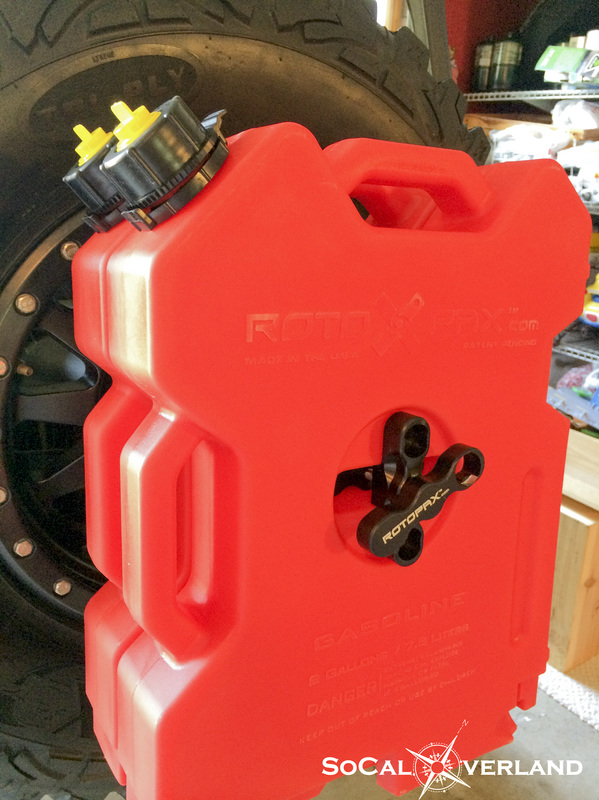
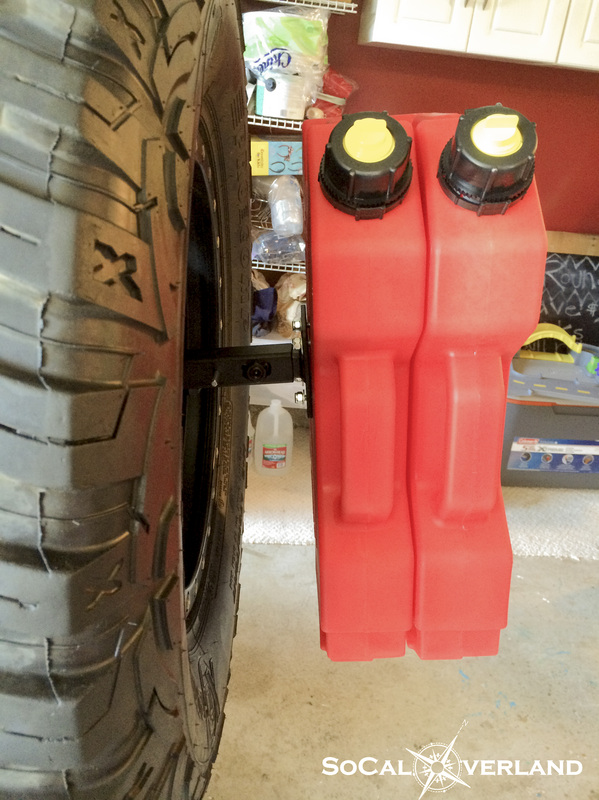
The profile view shows that there is plenty of space between the spare tire and your Roto Pax gas cans. Either I have really skinny tires or you could run much wider tires, hopefully it's the latter.
The profile view shows that there is plenty of space between the spare tire and your Roto Pax gas cans. Either I have really skinny tires or you could run much wider tires, hopefully it's the latter.
| 
|
Overall, the Olympic Mount and Roto Pax components appear well made (Made in the USA) and give a solid feel with the gas cans mounted. With some of our longer trips, the extra fuel will be nice to have along.
And while it probably took me longer to write all of this than it did to complete the installation, I hope you enjoyed it and found it interesting. I'm sure the four extra gallons will ensure that I won't have to stop for gas the next time I'm going out for groceries.
And while it probably took me longer to write all of this than it did to complete the installation, I hope you enjoyed it and found it interesting. I'm sure the four extra gallons will ensure that I won't have to stop for gas the next time I'm going out for groceries.


 RSS Feed